 Images Everything Photography was established in 2003 by Cheryl Williver, of Sussex County, NJ. She loves to photograph the outdoors, homes and gardens, real estate, and the occasional wedding or family shoot. Cheryl has a background in Interior Design, and loves to combine her talents to assist her clients in creating beautiful spaces, adorned with some Fine Art Photography or other products (what she refers to as “Photographic Home Decor.”)
Find more of her work on the Web: Facebook / Instagram / Twitter / Pinterest
When photographing Real Estate, you want to make sure you have the right equipment. Having a wide angle lens is a must, so you can capture a full room in one shot. I use an 18-200mm zoom Tamron lens on my Nikon D7000 and/or D7100. (I would love to get a 14mm to add to my bag, by the way!) I use a tripod whenever I can, but I have been known to stand on chairs or lay on my stomach on the floor to get the right shot. So, dressing comfortably is also a necessity!
I always try to shoot between 9 am and 11:30 am, when the morning light is nice, and not too harsh. Partly sunny days are best, but partly cloudy is okay, too.
For these three photos, I shot mid-morning, on a partly cloudy day. The home is, as you can see, very contemporary, so having light pouring in on all of these reflective surfaces was challenging. I always use Manual Mode when I shoot, so I have better control over the light.
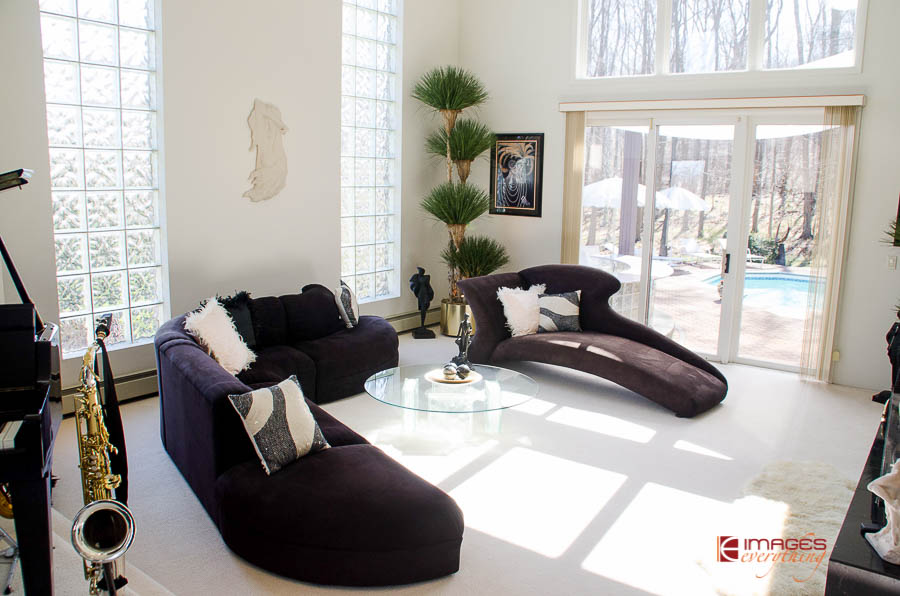
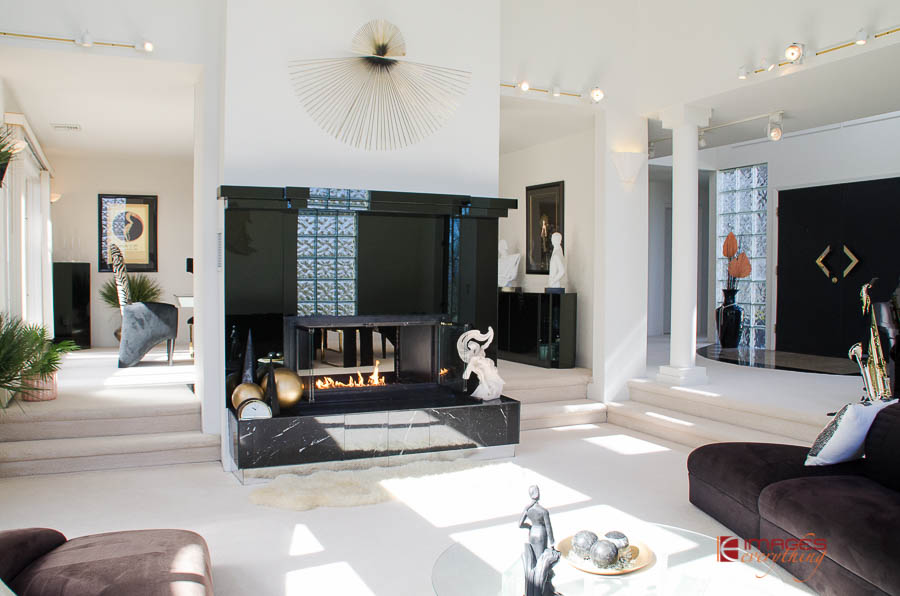
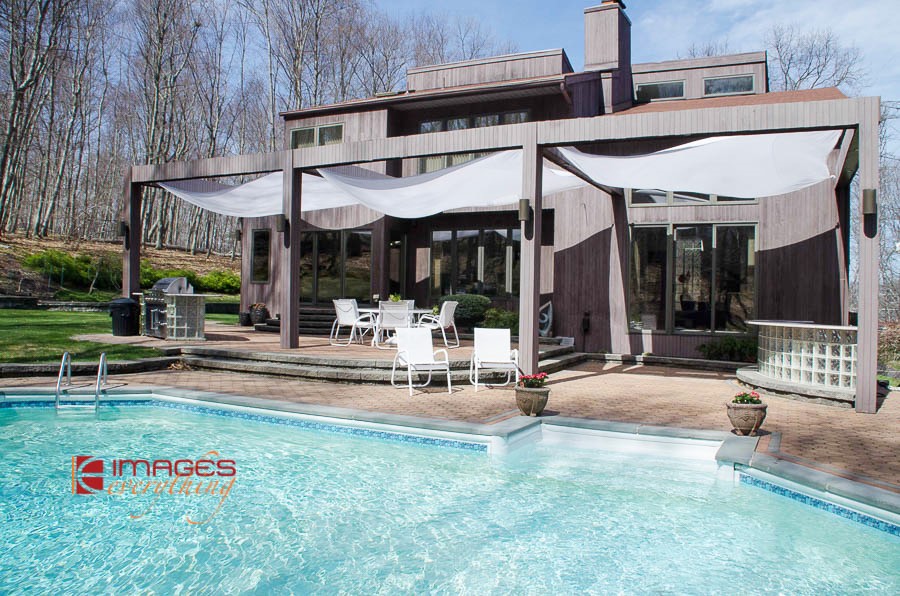
All three of these images were taken with my 18-200 lens, so I could get as much of the room as possible. No flash was necessary, as it was bright enough inside, but I always try to steer away from on-camera flash during a Real Estate Shoot, because it is too harsh. If I do need a flash, I use my Speedlight with a Gary Fong ½ cloud diffuser, as this softens the light. I always turn on interior lights, and always bring along my softboxes, as well (just in case).
When you’re shooting reflective surfaces, there are a few things to remember: Don’t stand directly in front of them! Stand to the side, as I did here. The fireplace, the windows (both interior and exterior), and the slider are reflective, you’ll see yourself in all of them if you stand straight-on. That will mean more editing for you! If you need to, position your tripod directly in front and take the image remotely. Another thing to remember is to watch your metering, as you will have bright windows and dark furniture in the same shot, and if you’ve got a tile floor too, you’re going to need to make it all even. Practice on your own home, or your friends’ and family members’ too, and you’ll see how different each setting will be.
On these next four images, this shoot was for an unfinished home. The outside was finished (and looked gorgeous!), and the property was just as amazing. So, I didn’t mind going for a little walk, so I was able to capture the private pond and sprawling hills behind the home. As for the interior, having a blank slate like this can be a dream for some, or a turn-off for others. It’s my job, as a photographer, to let potential customers see the potential in the home. So, angles are crucial here, and I wasn’t afraid to go low and shoot up, to show the vaulted ceiling and upper level. In New Jersey, you’re not allowed to photograph the Realtor’s sign in the front of the house (for MLS online), so I had to place myself where I could capture the whole house, but not the sign.
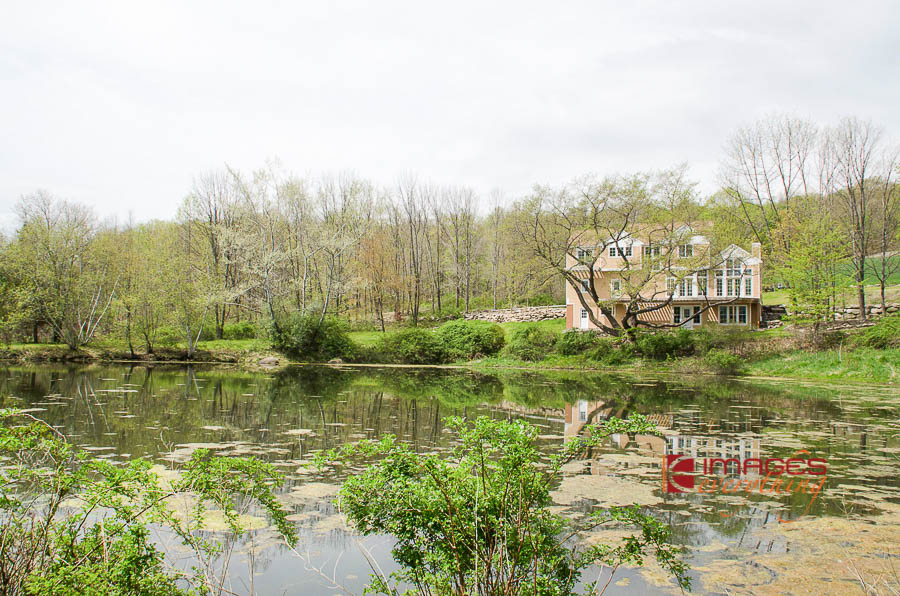
Settings: ISO 400, f/13, 1/640 sec
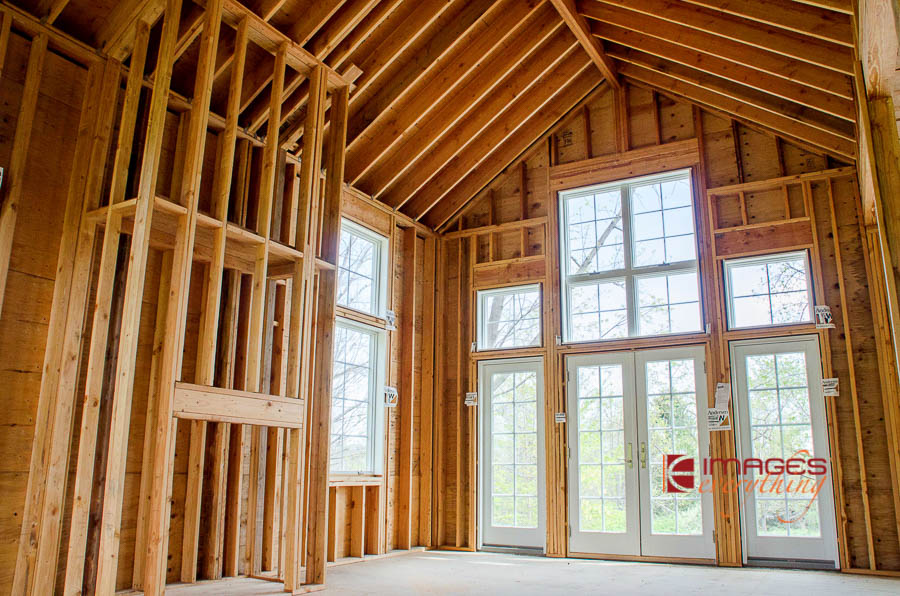
Settings: ISO 500, f/10, 1/100 sec
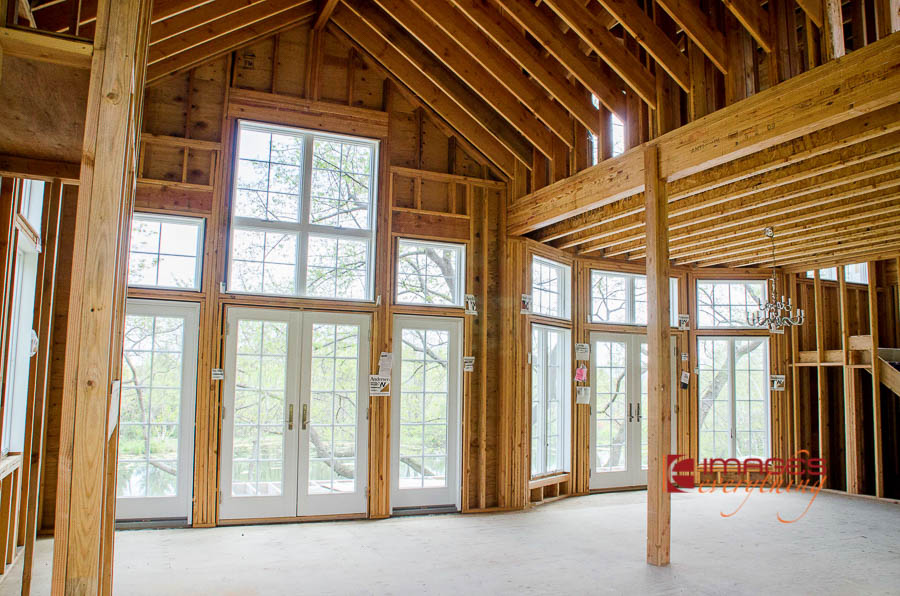
ISO 500, f/10, 1/100 sec
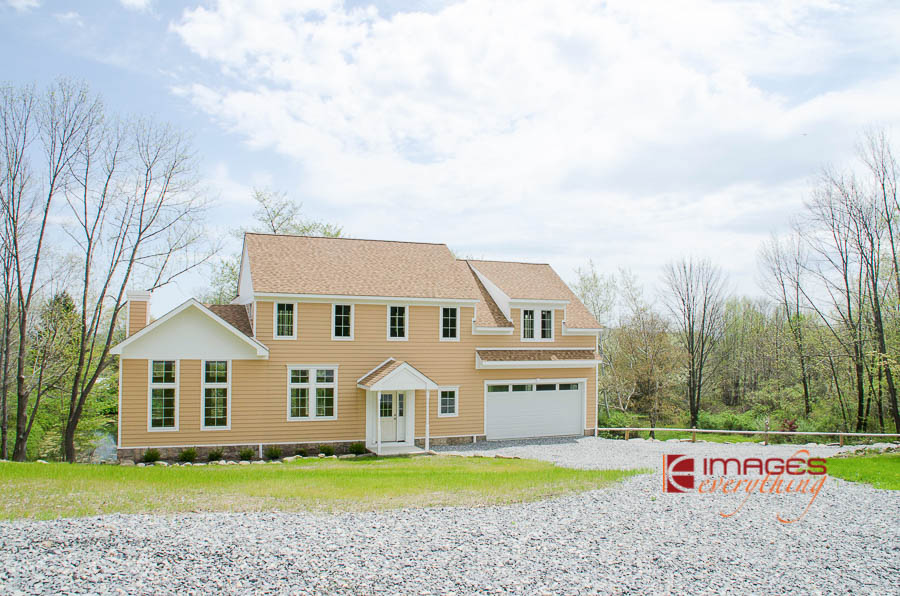
ISO 320, f/13, 1/320 sec
Exterior shots were on a tripod, and interior shots were also on a tripod at the lowest setting, so it stood inches off the floor.)
Some homes have really unique, beautiful spaces, and this one was no exception. This wine room was tucked away downstairs, but filled and ready for guests! The homeowners needed to relocate to Florida, so each bottle would be wrapped and ready to be transported. I captured the final “hurrah” in this room, as the new homeowners (whom, ironically, I befriended after the shoot), turned it into an outdoor-themed room, filled with hunting and fishing gear, to suit their active lifestyle.
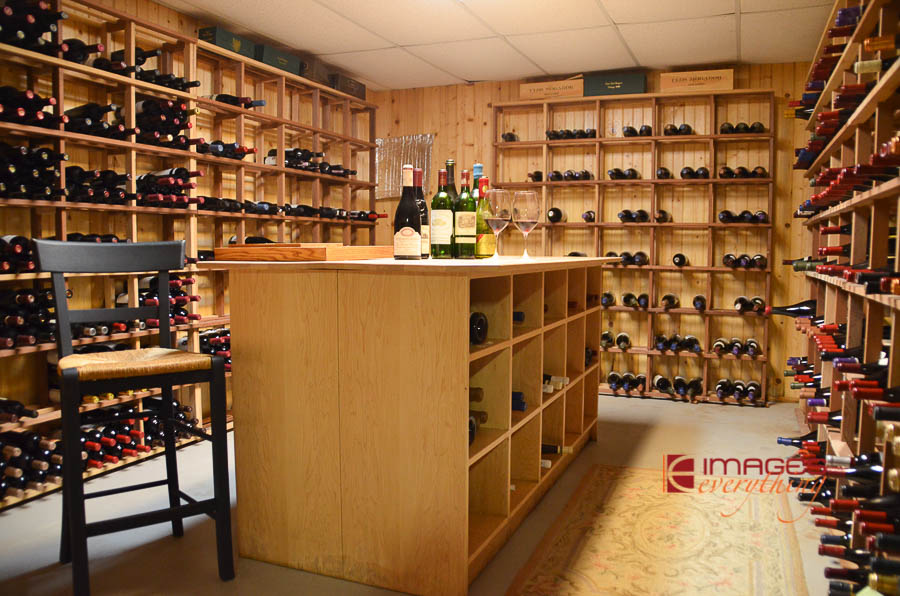
Settings: ISO 1600, f/3.5, 1/25 sec on a tripod. I couldn’t use a flash (way too many reflections)
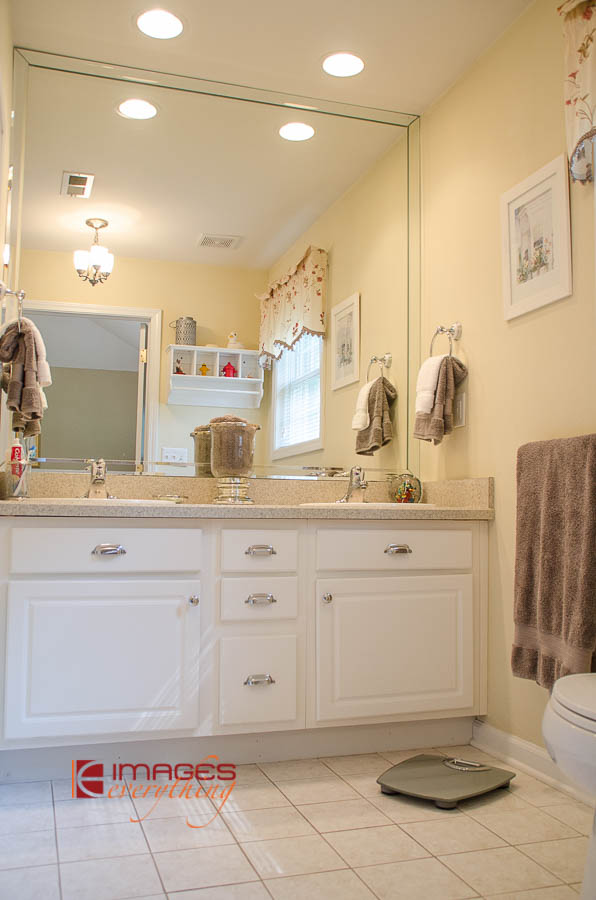
When photographing Real Estate, keep in mind that kitchens and bathroom are where homeowners get the most return on their investment. Taking photos of bathrooms may be last on a Realtor’s list, but when they look good, they should always be taken, and left for the Realtor to decide if it is include in the listing or not. When you have a full-wall mirror in a bathroom, such as here, going low and shooting up is the best way to capture the whole room without having to remove yourself and your camera out of the photo.
Outdoor spaces are just as important as interior rooms, so if there’s a pool like this, take some photos! I took this from a lower vantage point, to make it feel like you were there, and you could just sit down and enjoy.
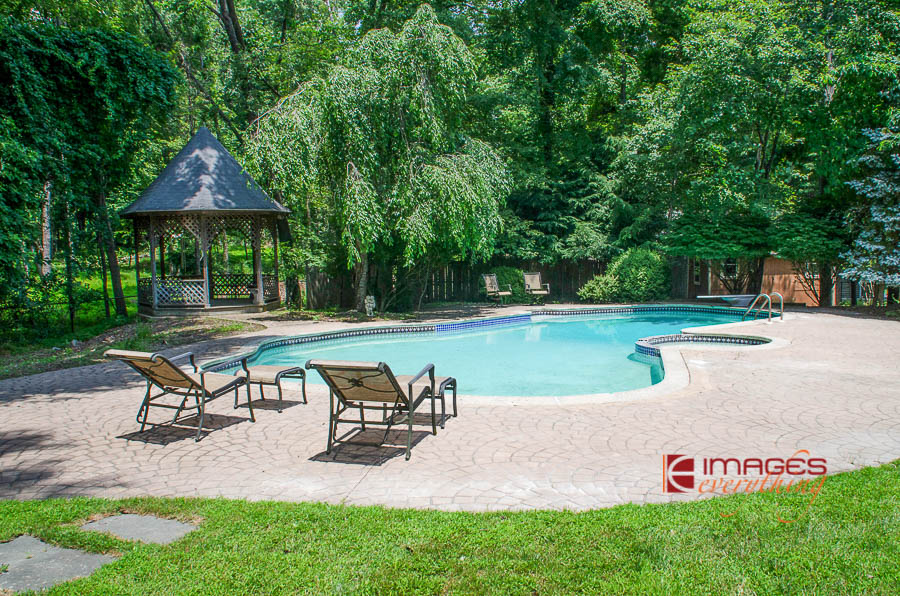
Settings: ISO 125, f/14, 1/250 sec.
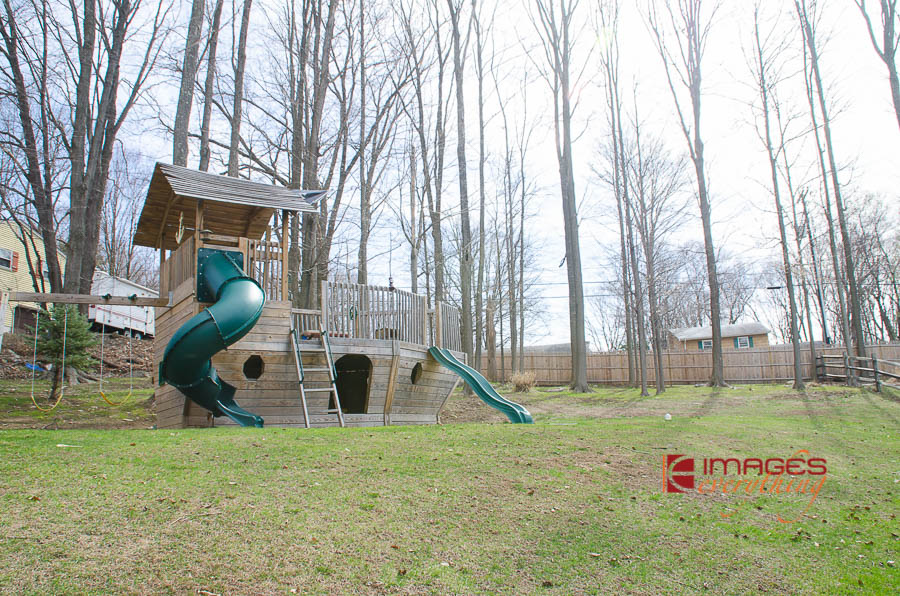
Sometimes you’re faced with unwanted surroundings in an outdoor area. Here, for example, there was a camper in the neighbor’s yard (behind the pirate ship play set) and also power lines to the right. Vantage point is key here, again. Placing yourself lower than the pirate ship and looking up the hill, showcasing the pirate ship and yard, slightly over-exposing so the power lines fade into the trees, does the trick.
If YOU are interested in getting into Real Estate Photography, I hope following some of these tips will help you get started. Get out there and practice, record what works and what doesn’t, and always be prepared for anything!


