 Just a little about me, and my photography. I am Stephanie and I have been photographing newborns for over five years. In that time, I have felt like an amazing photographer, and had days where I wanted to give up and walk away.
For years I shot on-location using only natural light. I photographed babies in living rooms, kitchens, bedrooms, and any other room with good light. Living in Minnesota, with our long, cold, and dark winters, I eventually started to bring studio lighting with me. Within the last few months, I made the jump and am in a studio space now. I feel like shooting on-location, with unpredictable room and lighting forced me to think outside of the box and explore different options and approaches.
Over the years, I settled into a style and approach that works for me. I photograph all of my babies at an aperture of 2.8 or 3.2. My edits are almost always the same, to the extent that I have made actions and presets of my workflow. This has not only sped up my workflow, but also established identifiable look to my work. I have found variations of popular poses that are either easier for me to pose a baby in, or that I prefer over the popular or “proper” pose.
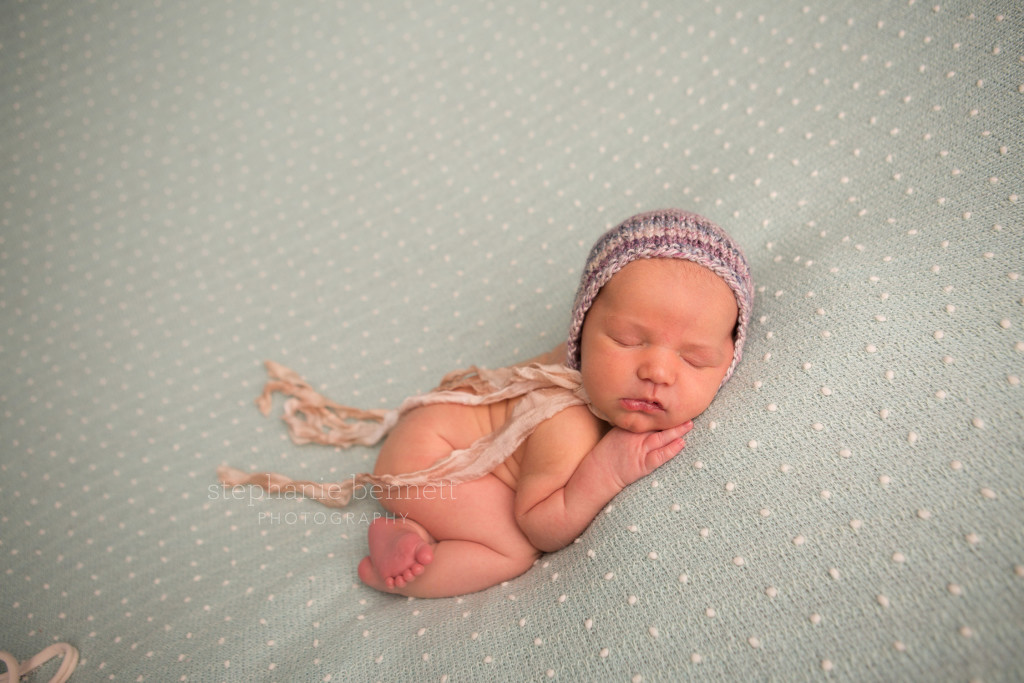 I have always found the tushie-up position to be an easy one for me to pose. I know everyone has strong and weak poses, and luckily this has always been a strong one for me, and it is my most requested pose from parents.
Posing: For the pose, I always start posing the baby in my hands. I get baby onto their belly, place their hand under their cheek, cross their legs, then lay them onto the bean bag and do adjustments. My musts for this pose, are straight fingers, the head propped up enough so the full face is visible, and elbow and knee are touching. When shooting, I always shoot from an angle where the baby’s face is closer to my camera than their bottom. In this position, I never shoot a baby straight on. It is all personal preference, and I prefer the baby’s body at a slight angle to me. Plus, I never have to worry about too much butt showing this way.
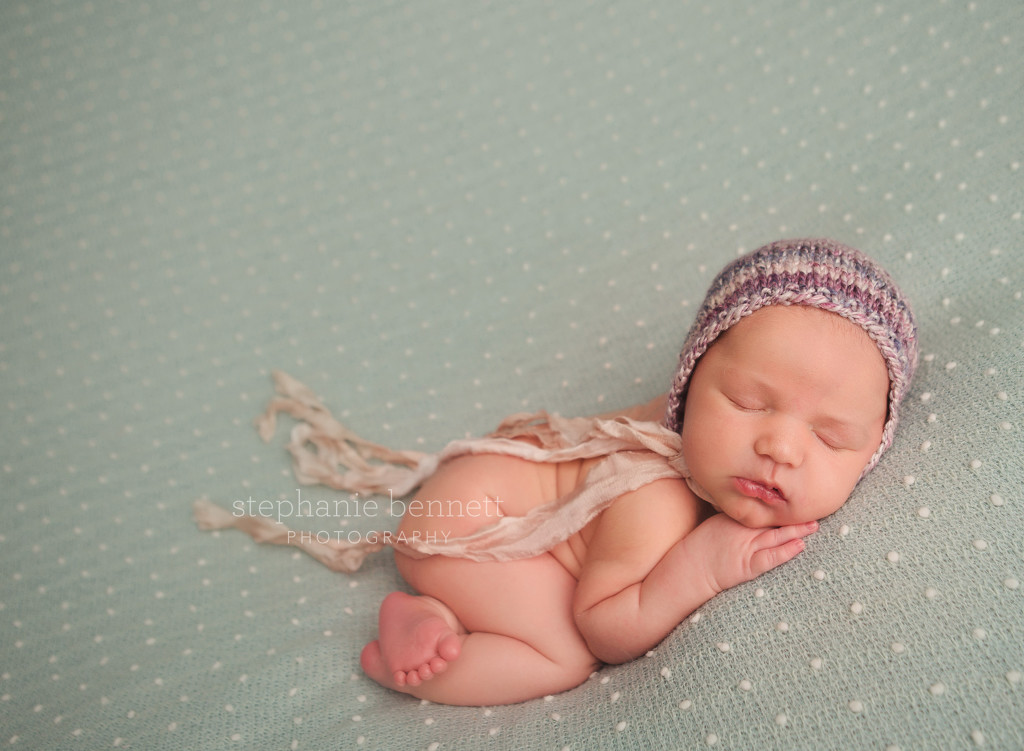 Post Processing: I shoot in raw and do the majority of my edits in Adobe Camera Raw (ACR). Typically, I make any white balance adjustments, exposure, highlights, shadow, and black adjustments. I then bring the image into light room. I crop all of my images to 11:15. I do any skin corrections that are needed, spot heal, remove redness, run Portraiture at a low opacity, and mask it off the eyes, nose, mouth, and hair. In this images I adjusted the angle slightly, the angle in the original felt to high. Lastly, I sharped the image.
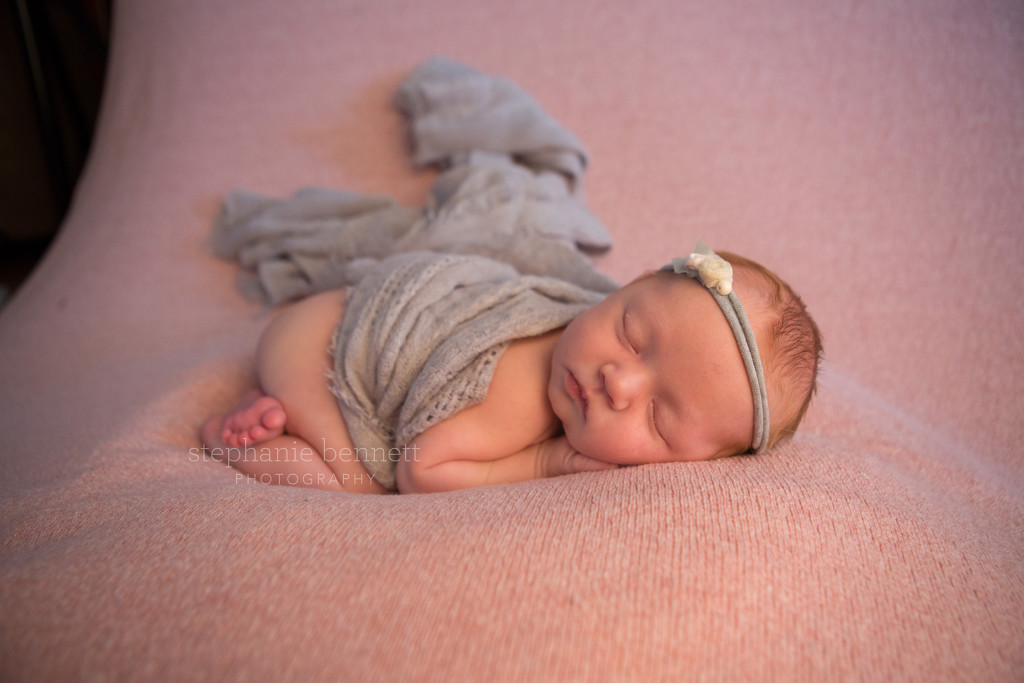 The posing and processing of this image is almost identical to image one. I always try adding at least one prop to each pose to get more images out of it. In this one, I added a layering piece to the baby. The piece is a scarf, and just tucked between her elbow and knee, draped across her, tucked under her on the backside, and the remainder of the wrap was extended up the beanbag fabric.
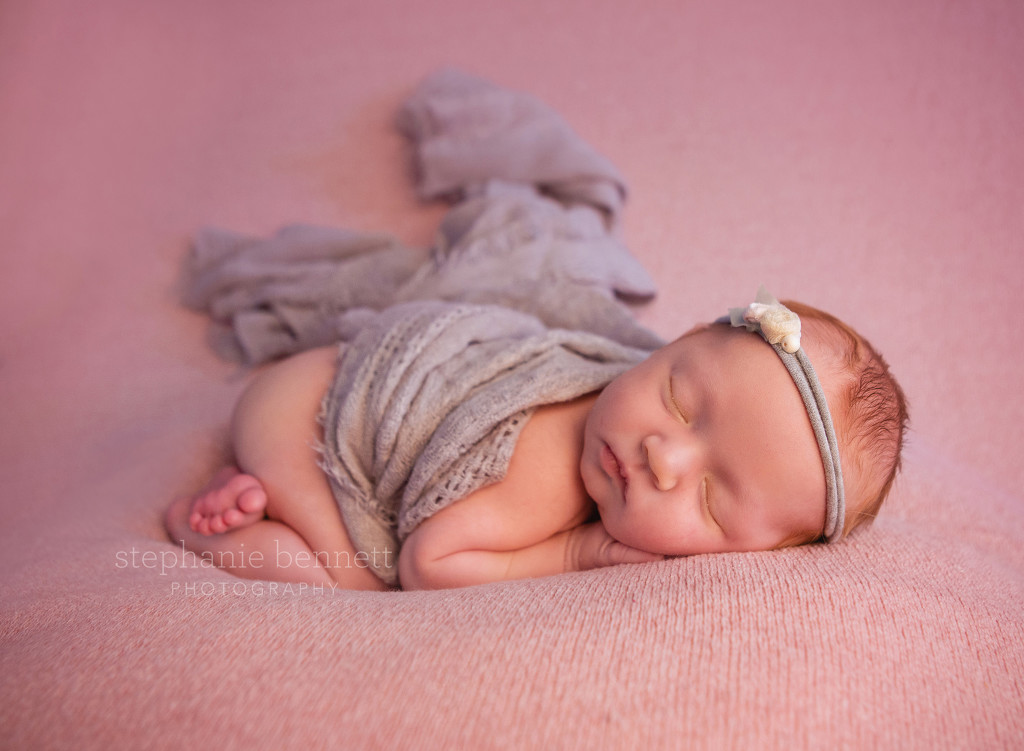 Post Processing: I processed this in ACR, then into Photoshop. I completed my normal edits. Then I extended the blanket in the top left corner. I cloned and patched some of the ridges showing from my stuffers under the blanket. I added a linear gradient fill from the top and sides on a color taken from the blanket.
Behind the scenes: This session was shot on-location in the client’s home. My beanbag burst open while packing my car, and with the limited time I opted not to bring it with. This image was shot on the floor of the client’s living room. The baby is on a floakti rug folded so the smooth underside of the rug is facing up, and with three or four other posing fabrics on top of the rug. It was not ideal, but it worked. I wish I had a pull back of the set up, just to show you that you can shoot newborns with limited props and equipment.
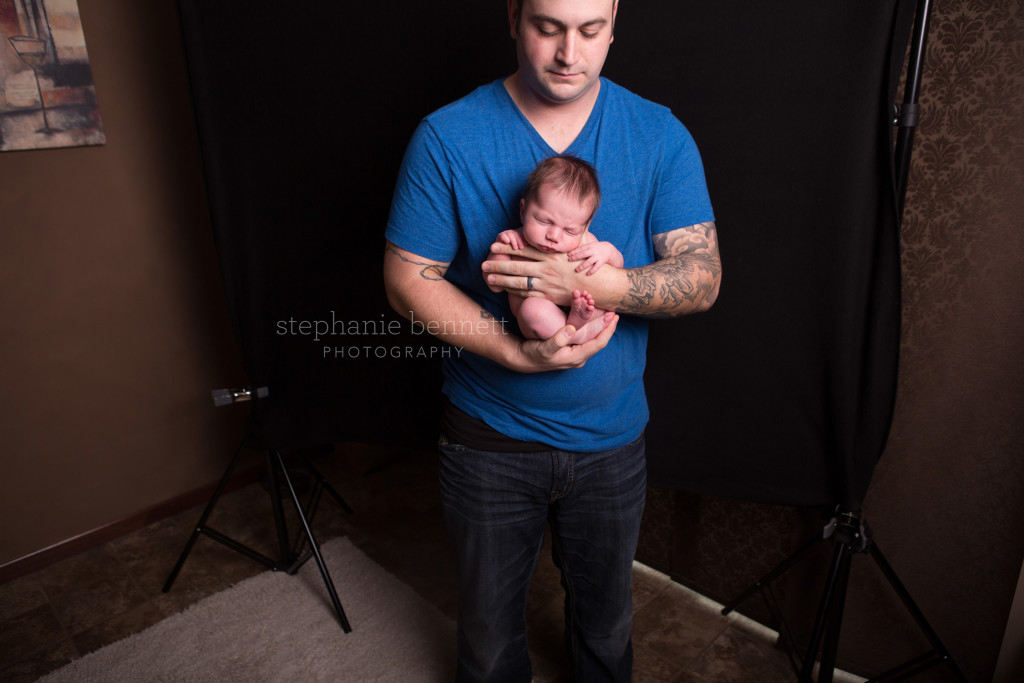 Posing: I love the contrast of a tiny baby in their father’s hands. I do this shot in almost every session where the dad is present. This session was shot on-location, in the client’s living room. I had piece of black fleece on my backdrop stand, and my strobe light was to my right. I have found that the parents, mostly dads, always seem to be the most nervous when holding and posing with the baby. This can make the pose challenging. Not only do you need to get dad to hold the baby in a way that looks natural, with the baby’s face visible, but you also have to be extra cautious of the baby’s private area. It is very easy for it to be displayed in this pose. I also do my best to get the baby to hold onto dad, or at least look like they are.
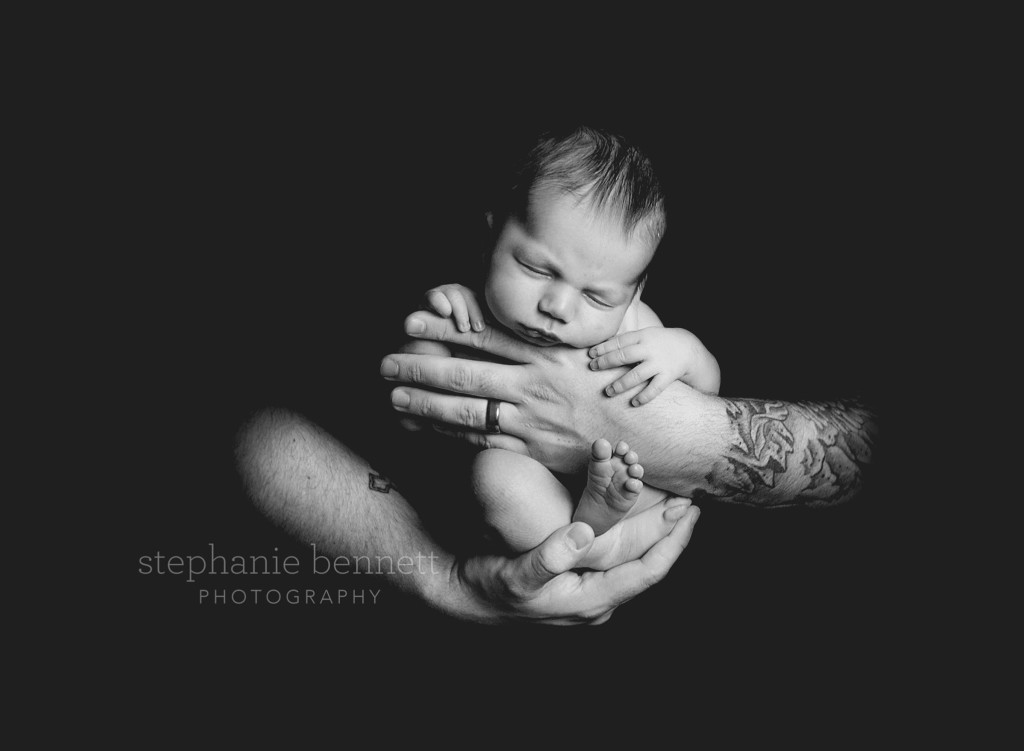 Post Processing: Most of the images I edit form this pose are in black and white. In ACR, I make the majority of the edits. I convert the image to gray scale, and make adjustments in the color channel to get the look I want. Then I make adjustments with the exposure, contrast, highlights, shadows, and blacks. Knowing that I want everything but the baby’s and dad’s arms black, I use the shadow clipping warning to show my true blacks. By the time I am done, the majority of the images is blue from the clipping warning. I then bring the image into Photoshop. I crop to 11:15, and in this image dad was wearing a v-neck t-shirt. I cloned out this neck and face. I then softened the edges of his arms by painting over them in a soft brush at a low opacity until I achieved a more natural look. With the majority of the image being black, I also added a slight matte to the image, to give it some depth.
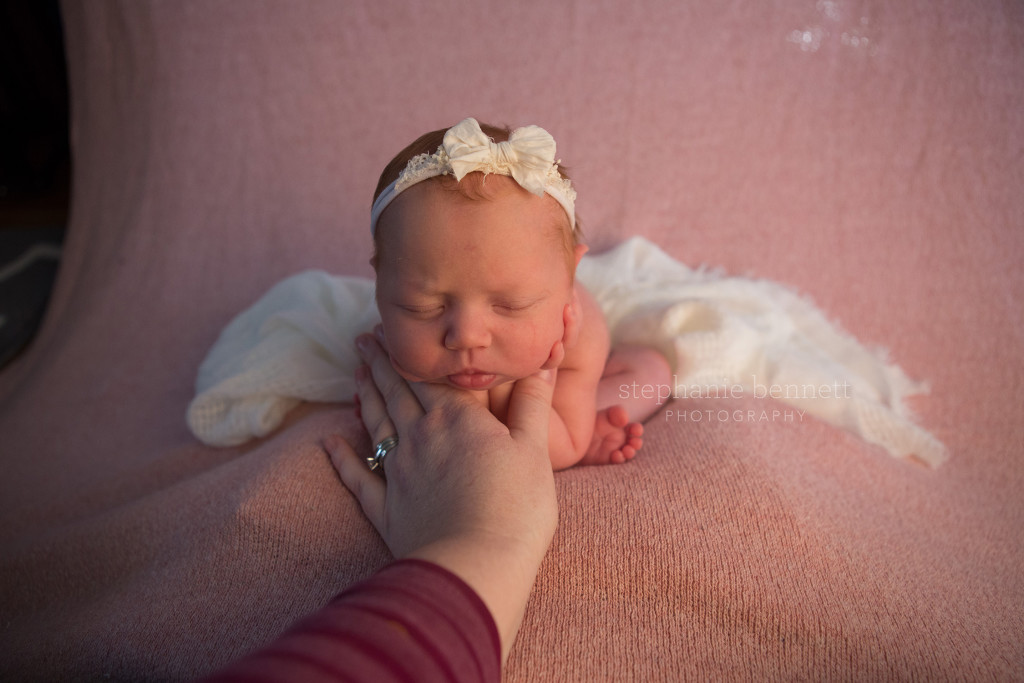 Like I mentioned above, tushie-up is one of my strong poses. Froggy, on the other hand, has been a challenge for me. I just started to love my froggy images in the last year. I feel like I had to find my style of froggy, and the way the pose works for me.
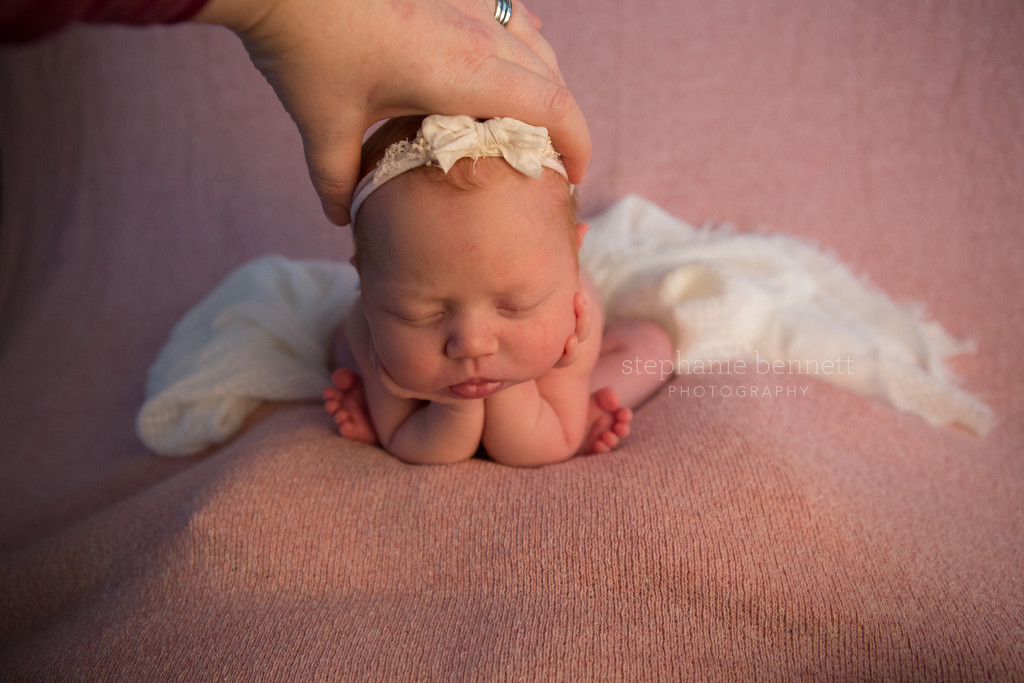 Posing: I do not use parents for my froggy composites. To nail this pose, make sure the hips are square to the camera, this will line the entire body up with your camera. I pose one side of the baby at a time. First I place the baby’s right hand under their chin. You want the hand under the chin lifting the face up. I then position the elbow on the bag, and place the foot directly behind the elbow. I then place my hand on the baby, exactly how it is in the picture, and begin posing the other side of the baby in the exact same way. I hold the baby with my left hand, and photograph the baby with my left. If you photograph without an assistant, I recommend a prime lens, preferable a 35MM, but a 50MM will also work. That way you don’t risk your focal length changing between shots I always shoot top of the composite first, the image where I am holding the wrists and supporting the head first, then use my right hand to stabilize the baby while adjusting my hand to support their head. Also, the baby is angled more than it looks in the image. The baby’s feet and elbows are on a stuffer, and the baby’s bottom is much lower.
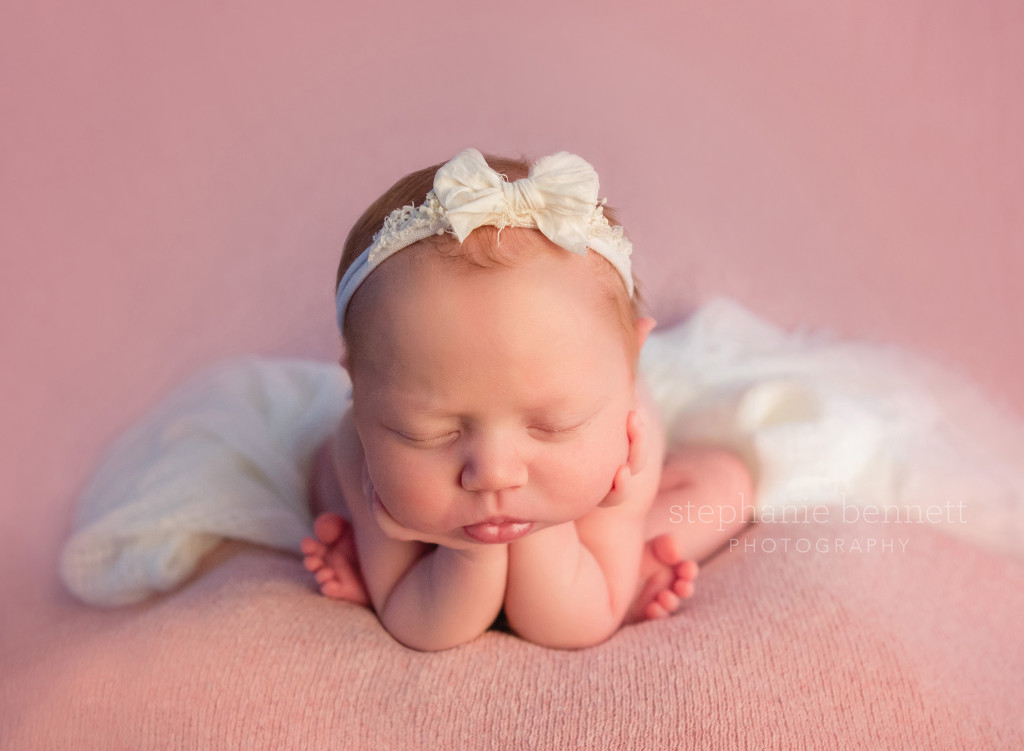 Post Process: I do all my initial edits in ACR, and synchronize the images so the edits are exactly the same. I then bring it into Photoshop, and start my composite. I copy one of the images, paste it over the other, and mask off the top image until I have both of my hands edited out, and the baby’s face lined up properly. Typically, I use only the top half of the head from the first image, and the majority of the image is from my second shot. I then cropped, and edited my skin as normal. I added a linear gradient fill to the top and sides to help smooth out the blanket color. I also liquefied the baby’s arms and elbows to give them a little more length than in the original image. Don’t go too far with this, just enough to even out the arms or round out the elbows.
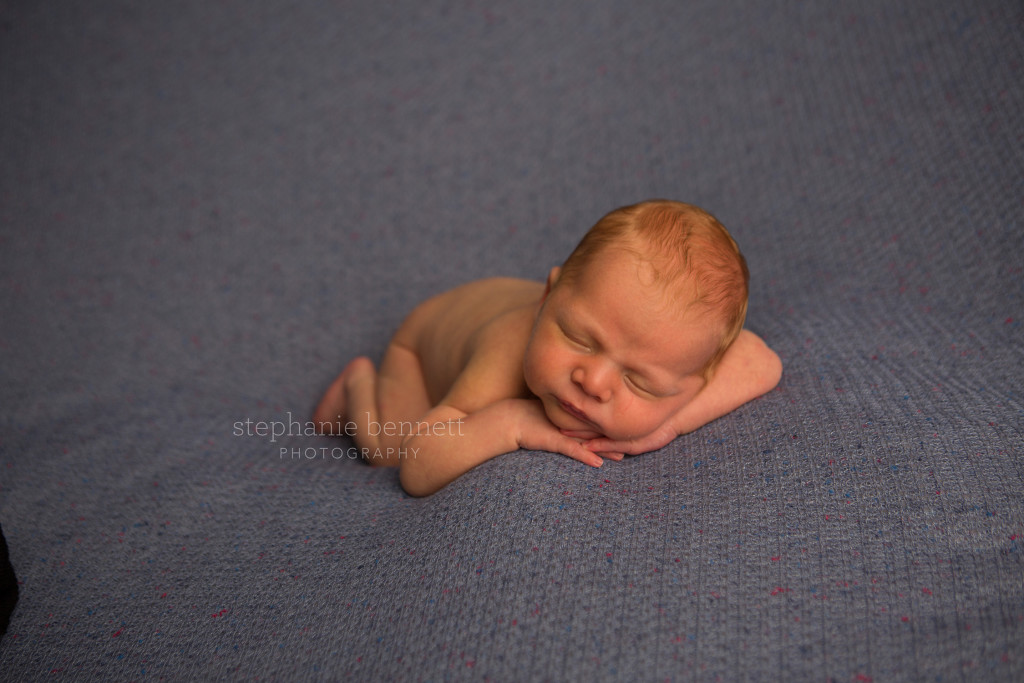 Posing: This is another pose, that I feel was a struggle for years. After being frustrated with the baby’s face always seeming like it was squished into the blanket, I started propping the baby up higher, and having their head just behind the highest edge of the stuffer. If it was directly on top, the face would be positioned down again. Think of them laying on a hill facing the top, opposed to laying directly on top of the hill. I used to stress about which hand was on top, now all I focus on it that fingers from both hands are visible, and the baby looks natural. Of all my poses, I feel like with this one, I follow what the baby does more. I will also shoot this from higher positions, like in this image where you can see the body and out to the feet, and also from a lower angel where just the baby’s head, arms, and hands are visible.
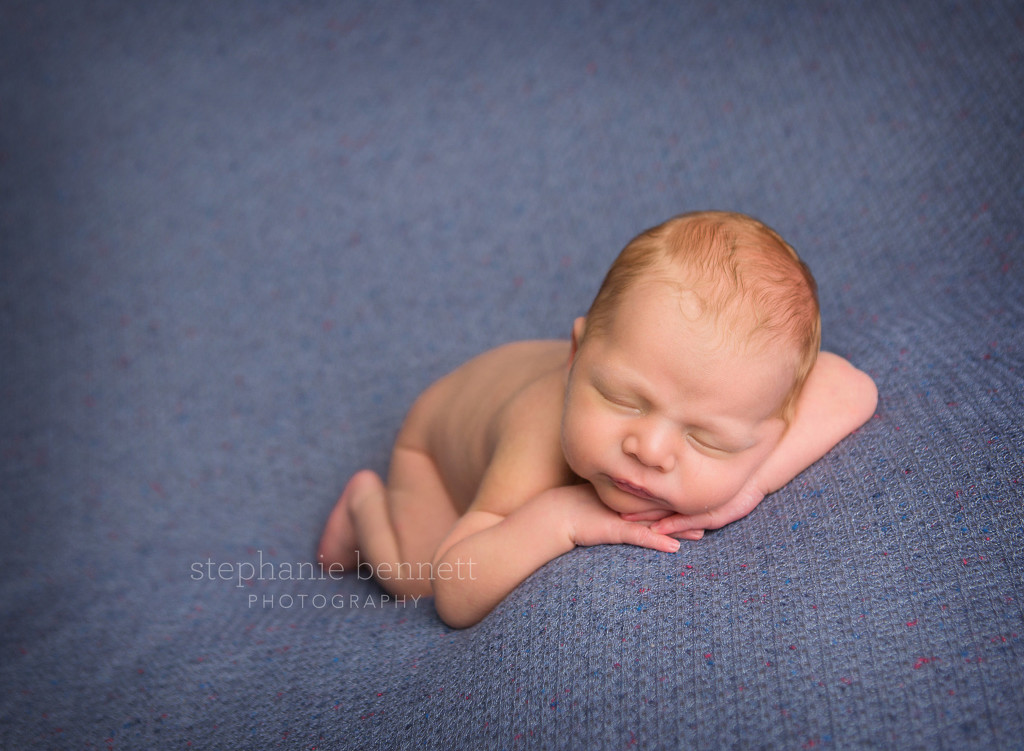 Post Processing: This was my first session with a new studio light, and I was off on my Kelvin settings. The baby’s coloring was very warm. Adjusting the exposure and white balance in ACR made a huge difference. In Photoshop, I cropped the image and rotated it slightly. I added a slight vignette, to add some depth since the blanket coloring was the same throughout the image.
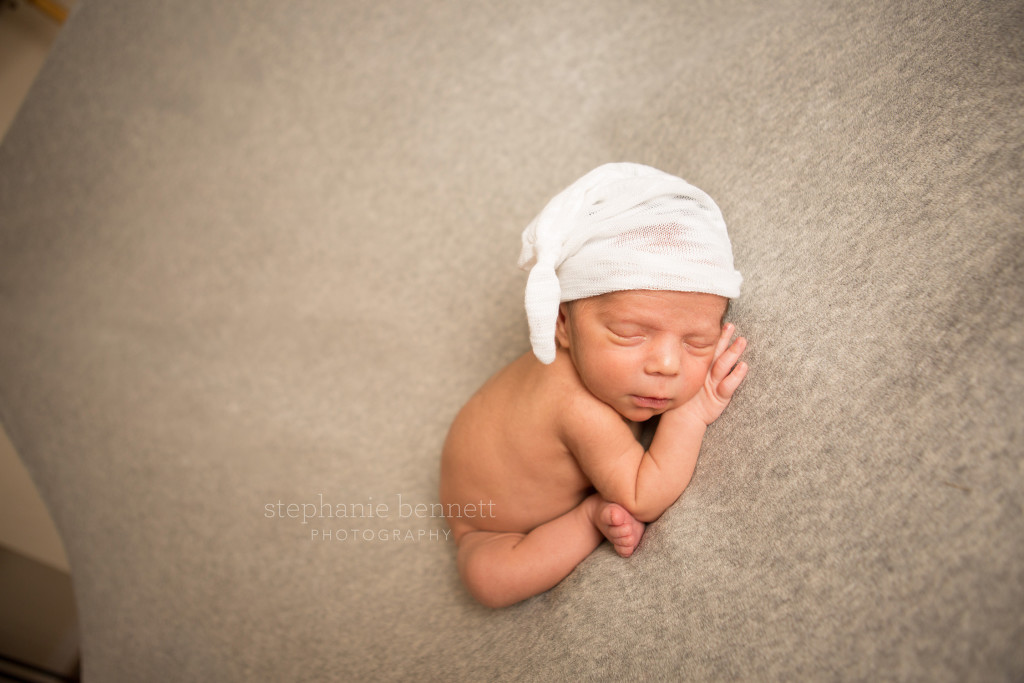 Posing: I always do this pose after the taco pose. To me, it looks more natural, and babies seem to like it. I uncross and adjust their legs out of the taco pose. I place the foot right behind the elbow, and the baby’s hand under their face. Again, I make sure the fingers are straight and that the entire face is visible (this might require a small stuffer to rotate it up).
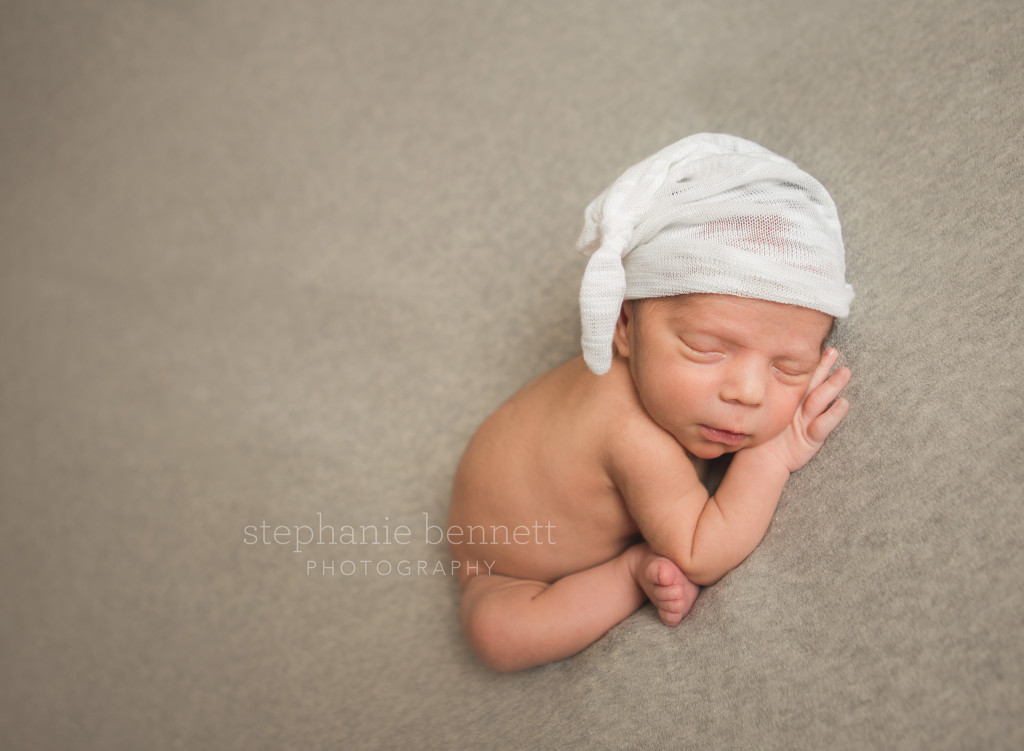 Post Processing: I made my standard adjustments in ACR, then brought the image into Photoshop. I cropped the images, and rotated it slightly. With the rotation and crop, I did not need to extend the background at all. With the hat being such a bright white, I burned it slighting to bring some of the details into it. I then did my standard skin edits with the healing brush, redness remover, and Portraiture at a low opacity.
Find more of my work on the Web!


