Lighting is perhaps the most critical aspect of photography. Poor lighting can ruin what may otherwise be a brilliant picture on other aspects.
Now, when we are indoors or past daylight in natural surroundings, getting ideal lighting conditions can be a challenge. That is where the flash on our cameras plays a vital role.
Flash portrait photography is no mean feat though. It takes sufficient practice and experience to master this technique. The tips we share in this article would prove useful towards that end.
What is Flash Portrait Photography?
Two critical aspects to consider here are the quantity as well as the quality of light that is available. Depending on that, you will optimally use the flash on your camera to achieve the desired photographic output.
While taking portrait photos, correct use of the flash can make a world of difference. Some highlights include:
- Creating “drama” in your images.
- Giving your images a sense of “direction”.
- Separating objects in your images. Contrasting depths play a pivotal role towards this goal.
- Objects in motion can be “frozen” using a flash burst.
Finally, also think of the camera flash as a mechanism to “clean up” light conditions. Used smartly, your portrait photos will come out remarkably well, entirely due to ideal lighting conditions brought about by the use of flash.
Below we share some handy tips that are sure to help you up to your game on the flash portrait photography front.
Tip #1 – Softening your Light
Light softening in this context refers to the light source. If you can “soften” it there, using a diffuser – or the umbrella-like setup we see so often in professional studio setups, it will considerably improve your final output.
You will especially notice a visible reduction in the strength of the shadows behind your portrait subjects. See the image below for a perspective.

Tip #2 – Optimal Aperture Control
The aperture or f-stop on your camera controls flash exposure on your portrait subject. When you master aperture control, as per the setting and subject you’re photographing, you will notice a marked difference in the quality of your output.
Below is an example of ideal aperture control.

Image Source – Lighting Asylum by Mark Behrens
Tip #3 – Know your Lenses!
Adept flash portrait photography requires that you know your camera lenses well.
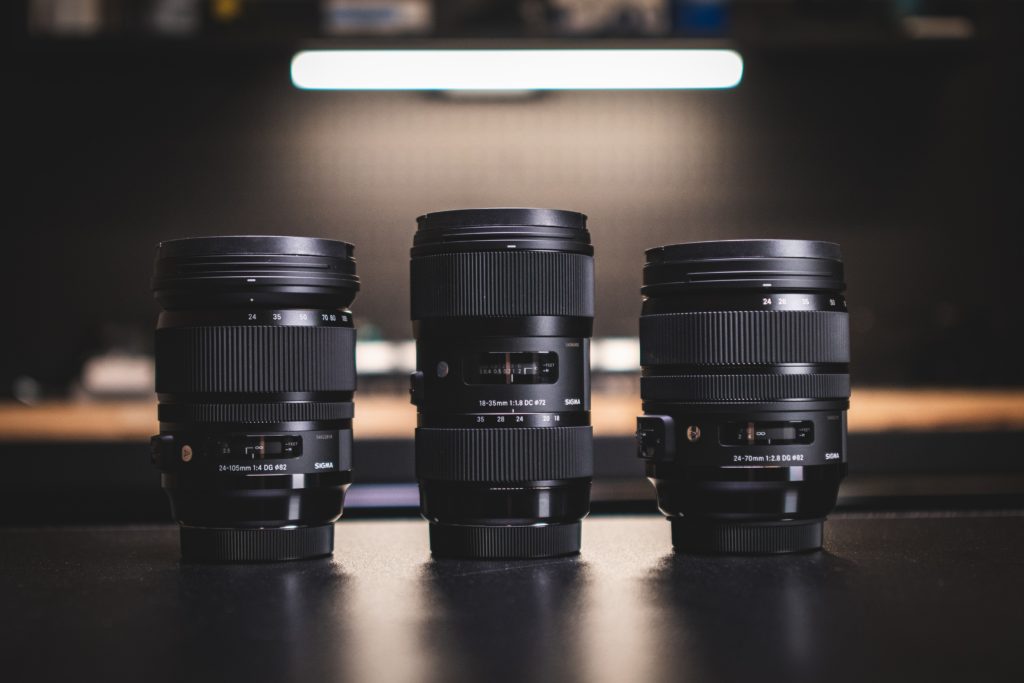
With time, you are anyway expected to own multiple lenses. While being aware of their varying functionalities, you must also know the difference they make, in the same setting.
See the images below for a perspective; the same subjects have been photographed in similar settings, with different lenses.

Photo by Voice + Video on Unsplash
Tip #4 – Experiment with Flash Power
Flash power is essentially the strength of your flash. Primarily, you will find most cameras having a flash power setting of 1 denoting maximum flash (full power) and progressively decreasing from thereon.
Each flash power setting can offer varying results. As a savvy portrait photographer, you should be willing and able to experiment on this front.
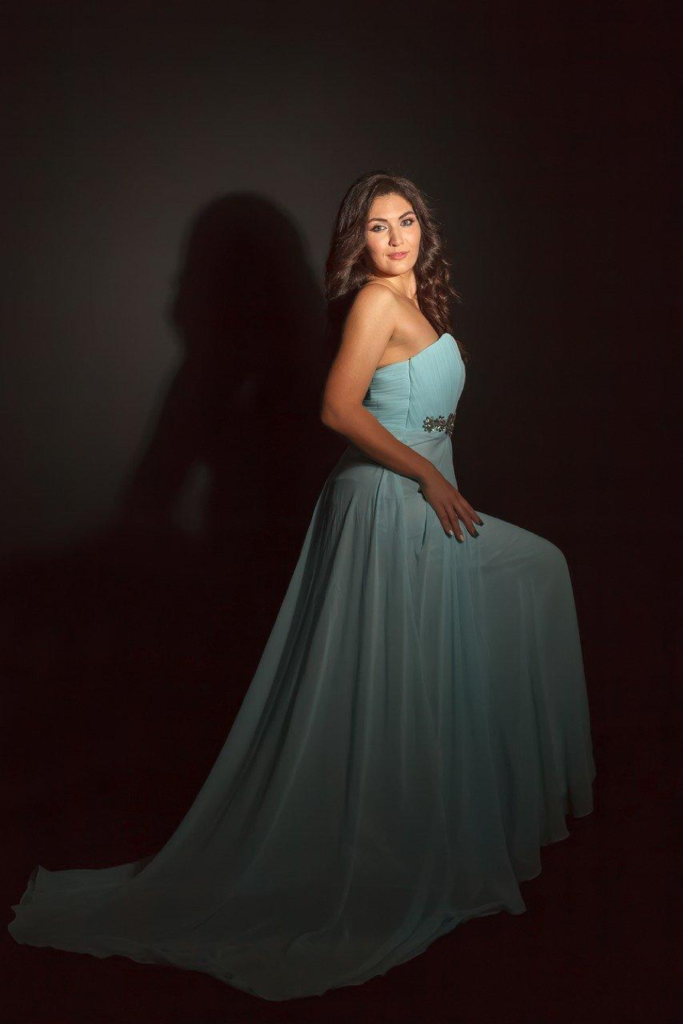
Below is an example of an indoor portrait shot was taken with max flash power.

Image Source – Lighting Asylum by Mark Behrens
Tip #5 – Adjust your ISO
ISO determines sensor sensitivity to light, which is directly proportional to the number it is set at. Thus, the higher the ISO number, the greater will be the sensitivity.
Often, a direct result of high ISO settings is the noise that invariably creeps into images.
But this need not always be the case if you get the exposure right. Thus, the takeaway here is to take multiple shots at varying ISO levels.
Compare the results, and voila, you are more than likely to have an entire bunch of compelling portrait shots that are hard to choose from!
Below is an instance of a portrait shot with apt ISO settings.

Image Source – Lighting Asylum by Mark Behrens
Mastering flash portrait photography is no cakewalk. At the same time, it is not a Herculean task either.
Experience, combined with a willingness to experiment in multiple settings, is really the key.
Over time, you are sure to gain the mastery you’ve been yearning for!

