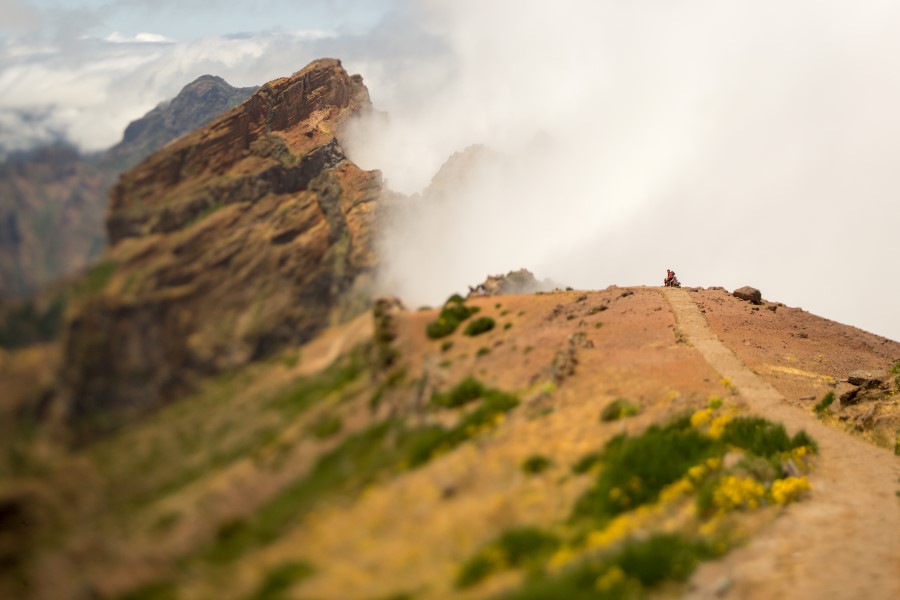
This kind of photography is achievable by using a lens that tilts. In doing so, will result in a slice of focus on the focal plane, surrounded by a gradual bokeh. Doing this with the proper lens is a lot easier in comparison to “digital fakes”. Vincent Laforet and his Air series is a great example of tilt-shifting imagery. Tilt-shift lenses are expensive, but there’s cheaper options on the market. Lensbaby products, for example, allow slices of focus (Edge 50 and Edge 80 optics) that can be used with the Composer Pro II lens body. This is the gear I used, therefore is the one I know better and will explain how you can produce this kind of photography with the Lensbaby optics that allows it.
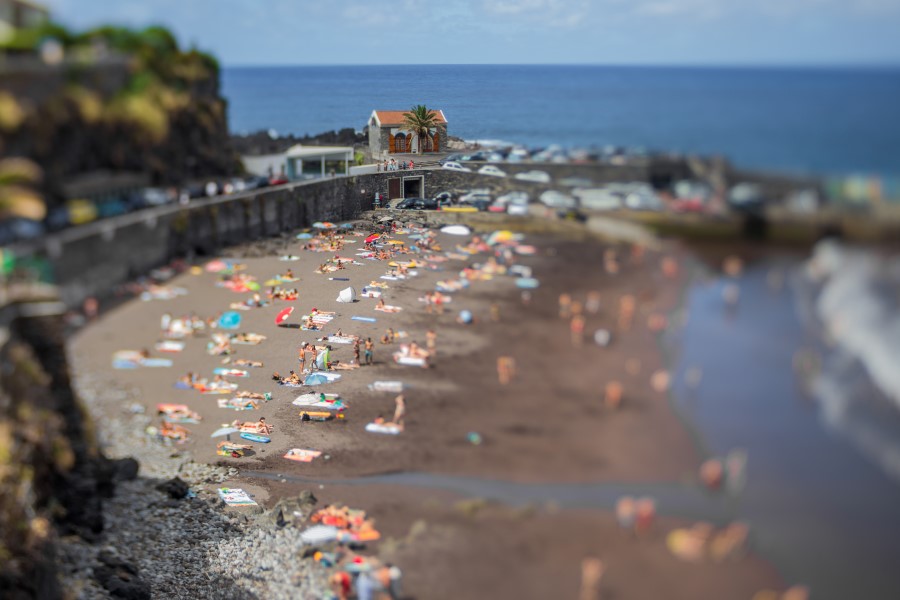
On this shot, I used the Edge 50 optic (which is 50 mm, therefore the 50 in the name). The direction of the slice of focus is achieved by tilting the Composer Pro II body at different directions, allowing you either to do horizontal, diagonal, or vertical slices of focus. The width of the slice of focus is controlled by the aperture. This means F3.2 is a thin slice of focus and F16 is a thicker slice of focus. When doing miniature shots, I usually go from F4 to F8 to get a larger area of smooth blur around the sharp part of the image (the slice of focus). In this shot, I used an aperture of F5.6 which was thick enough to aid in the composition that I made in the slice of focus from the house in the background, through the beach, and to the lower left rocks.
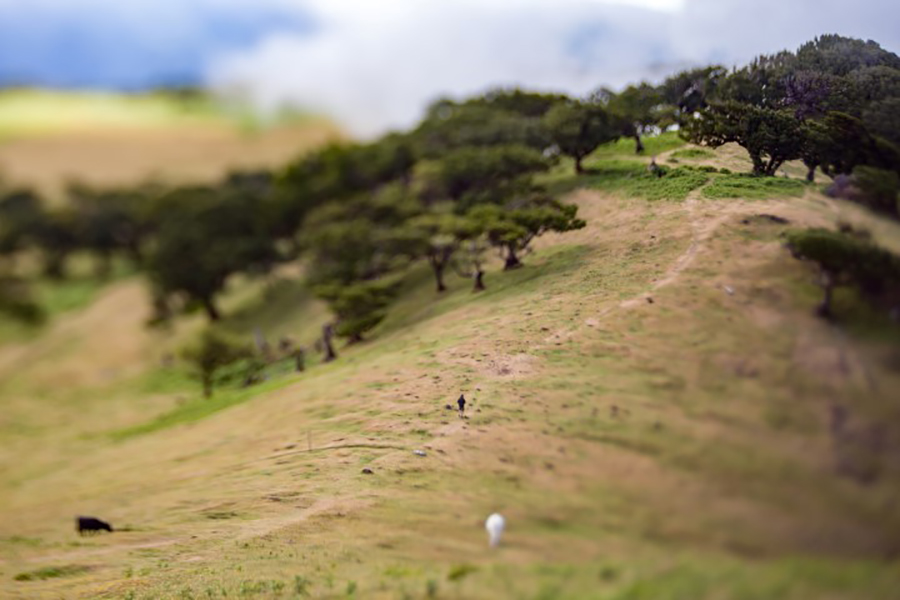
Elevation is very helpful in doing this kind of photography since you cover the frame with more stuff in it. Try avoiding having areas with too much homogeneous colours or neutral patters. Since the lens body tilts, it’s important to do a test shot as the exposure meter won’t be accurate as the light hits the sensor in a different way than regulars lenses do. The position of the sun is also important. If you tilt up, your shot will be over exposed. If the lens body is tilted up, your shot will be under exposed. From the test shot, adjust your exposure until the exposure is correct while considering the position of the sun.
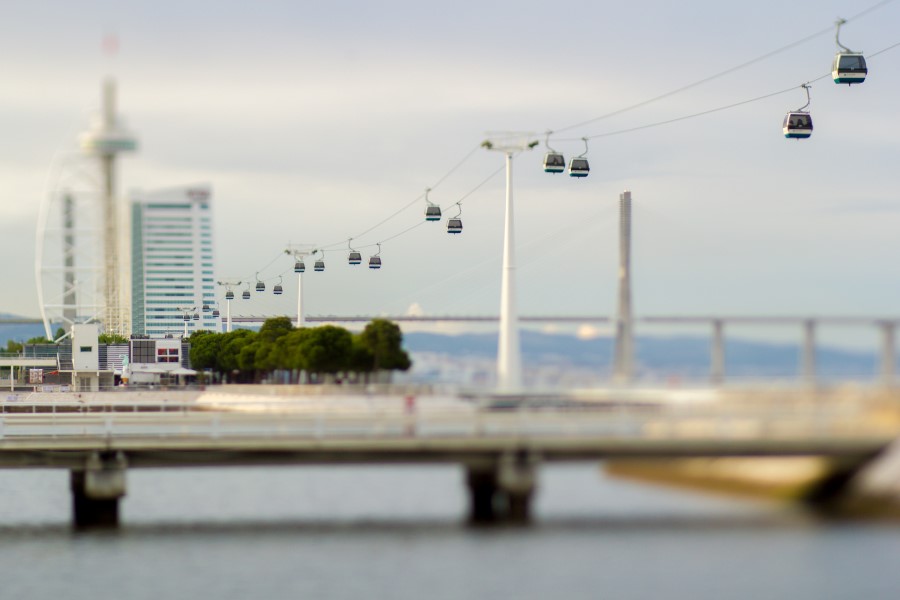
This ground shot is compensated by the height of the building. Therefore, no elevation was needed to achieve the miniature look. The slice of focus on this shot was placed in a diagonal direction, following the cable car, and allowing me to draw the viewer’s eyes right into what was more important in this composition. I was able to avoid the unwanted elements by blurring them. In this shot I used the Edge 80, which is 80 mm, to frame the elements I wanted.
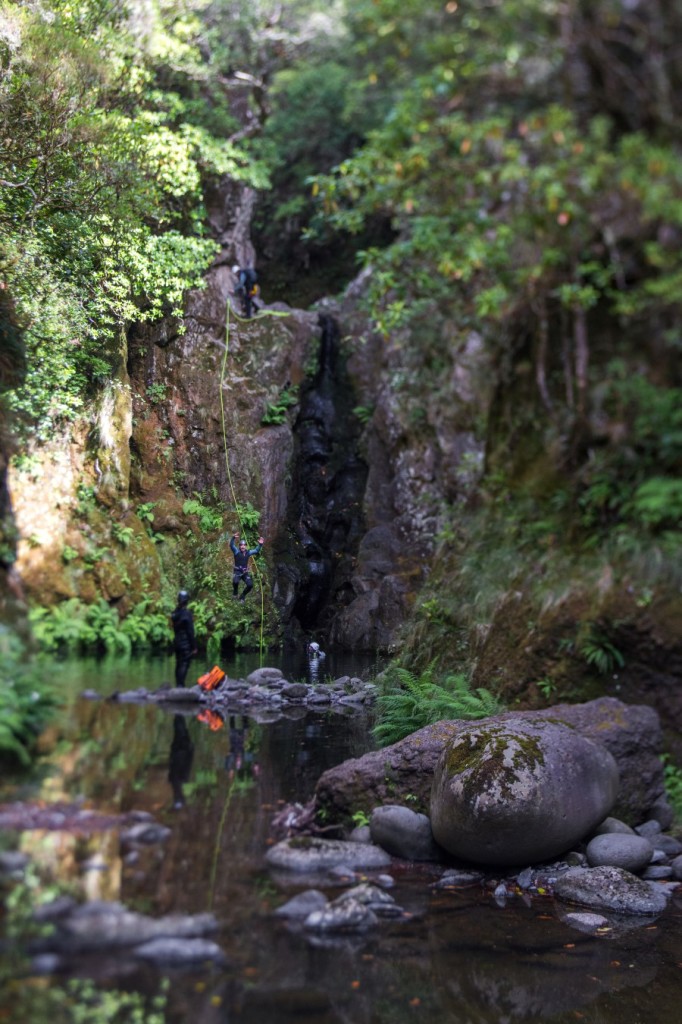
While canyoneering, I place the slice of focus with a width and direction that could keep the slice of focus on the jumper and the stone (right). Action shots are a bit trickier to pull, but with a safe width of slice of focus (from F5.6 upwards) and a few practice shots, it becomes easier.
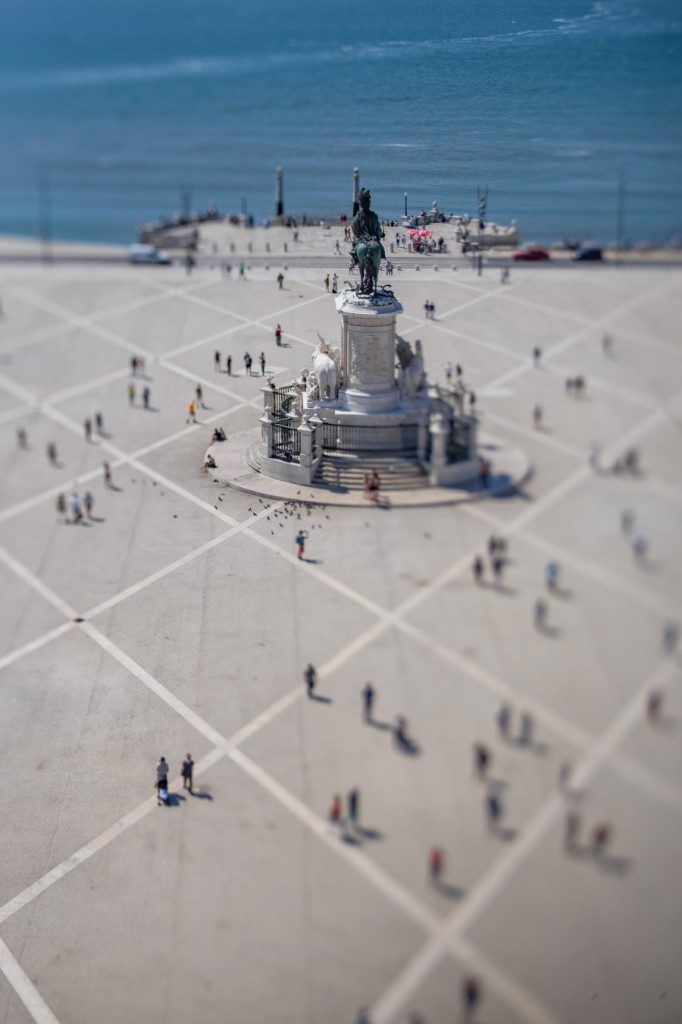
When you start to do this kind of photography, you easily acknowledge the elevation factor; reaching peaks. To the balcony or roofs of buildings, it becomes regular. This is a four story high building I was at while taking this shot directly to the square below. I picked an aperture of F8 to keep the statue in focus, along with the pedestrians, in this diagonal slice of focus.
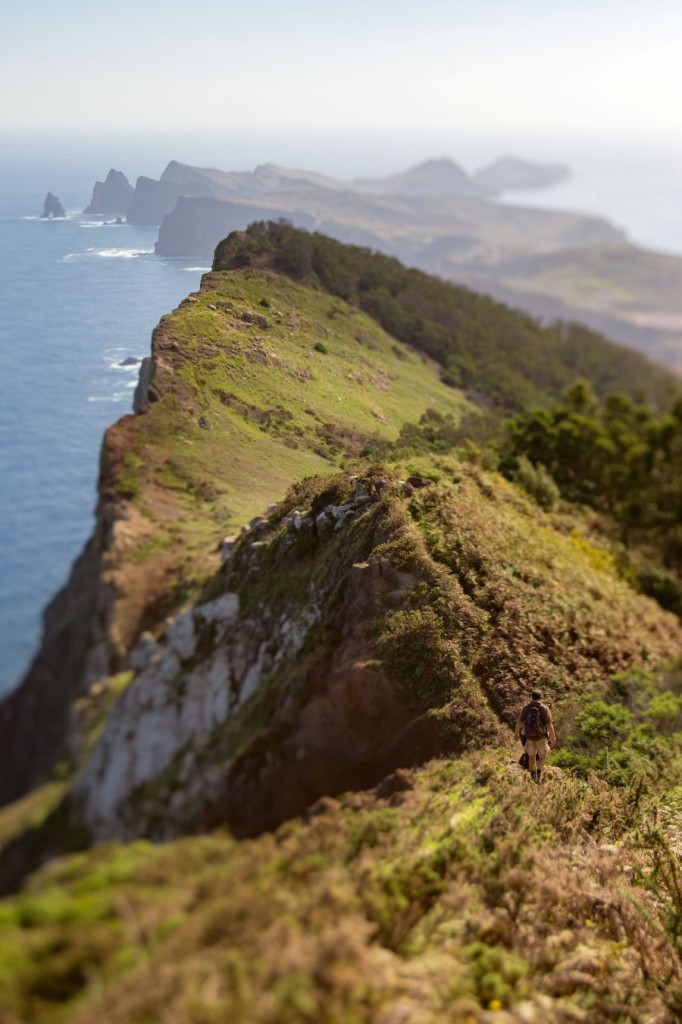
The slice of focus allowed me to focus the hiker until infinity by using an aperture of F5.6. Again, elevation and composition was helpful in allowing me to draw the viewer’s eyes from the islet in the foreground, to the path, and to the hiker. Thus, blurring the other elements in the frame.
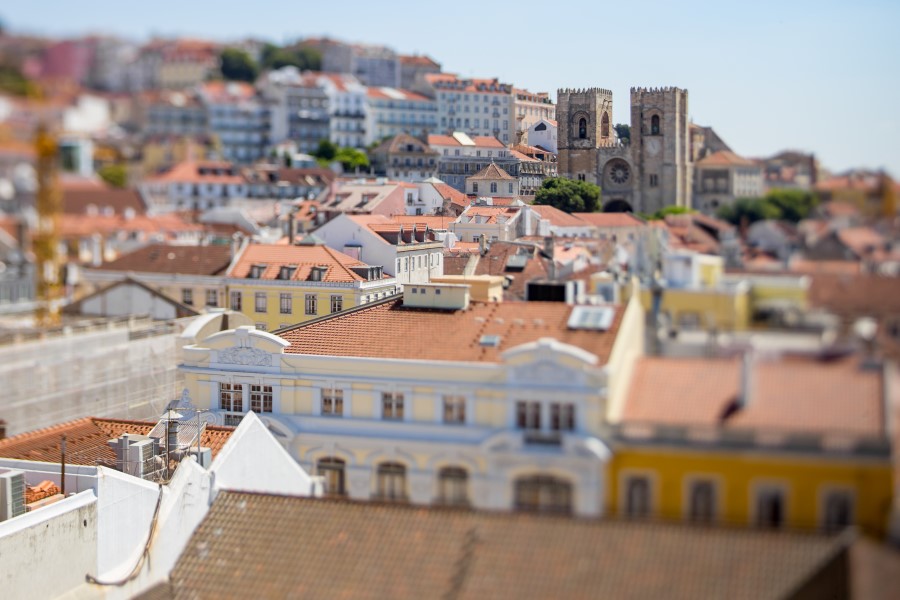
To end this blog entry, try compiling all of your tiilt-shift shots by making a dynamic time-lapse video. The end result is great and makes the images look like miniature cities. View my example HERE!
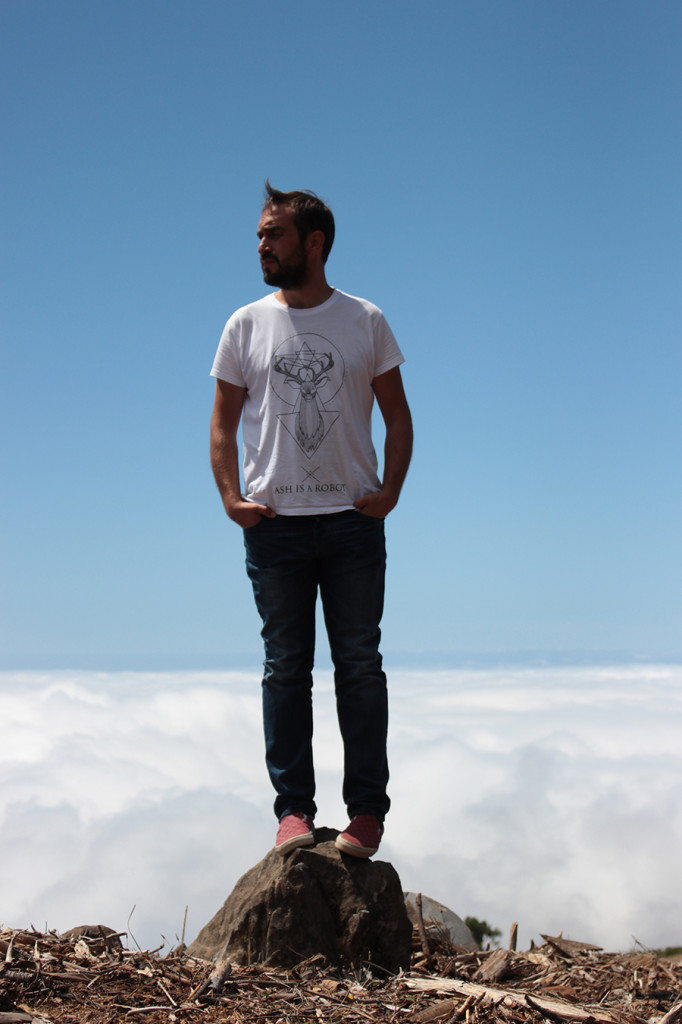 Nuno Caldeira is a Portuguese photographer and geographer based in the Atlantic Portuguese island of Madeira. He’s known for landscape, urban, and climbing photography with a twist.
Follow Nuno Caldeira on the Web: Website | Flickr | Instagram | Facebook |

