I love the simplicity and timeless feel of black and white imagery. The absence of color emphasizes the subject as well as the emotion and minimizes distractions. Black and white is also a popular choice for low light photography making this time of year a perfect time to create black and white images. So what makes a good black and white photograph? There’s definitely more that goes into creating a show-stopping black and white than a quick conversion in post processing.
- Look for contrast and scenes with a wide range of tones
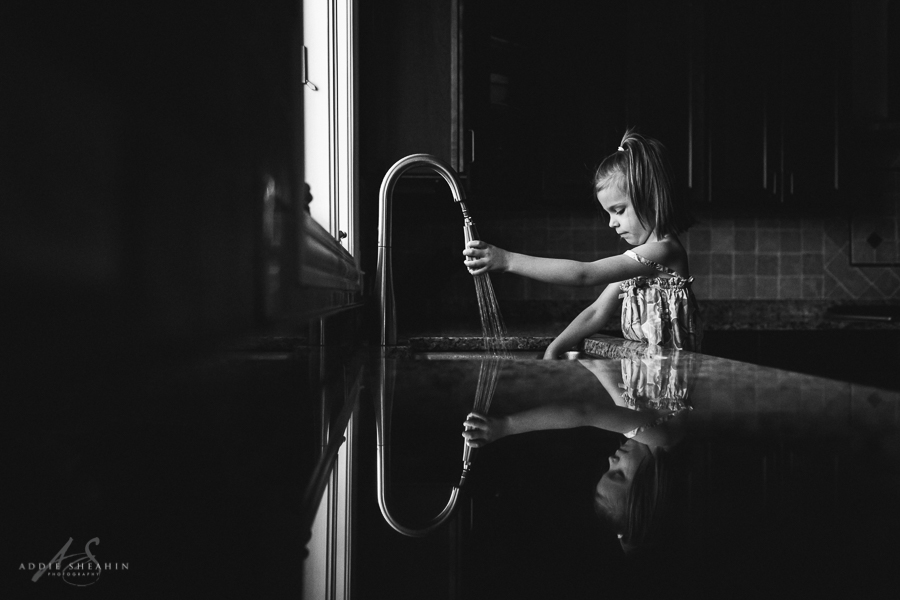
Contrast is definitely your friend when creating black and white imagery. Look for scenes with whites, blacks and shadows or colors that will make various shades of gray in between. A wide range of tones will give your image depth and add visual interest.
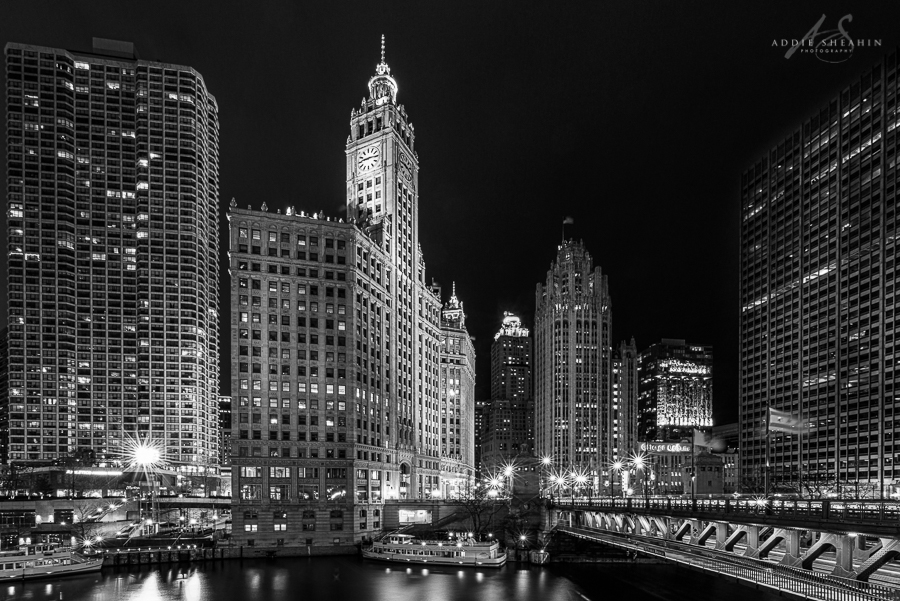
- Use dramatic light
Lighting is an important element in any photograph and black and white imagery is no exception. Using light to add contrast is a wonderful first step in creating a beautiful black and white image. Dramatic lighting provides a lot of contrast and I love using it in my work. Search for scenes with strong directional light and pay attention to both the light and shadow throughout your frame.
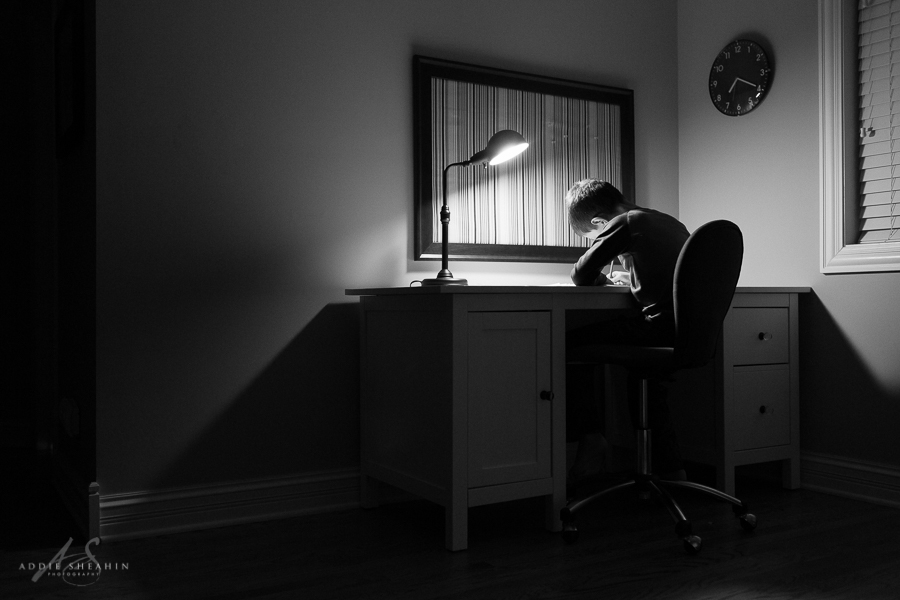
When shooting subjects in dramatic light, make sure to set the camera to spot metering and take your reading off important highlights before choosing your settings. In this image I metered off of his left cheek because it is closest to the light and the brightest highlight.
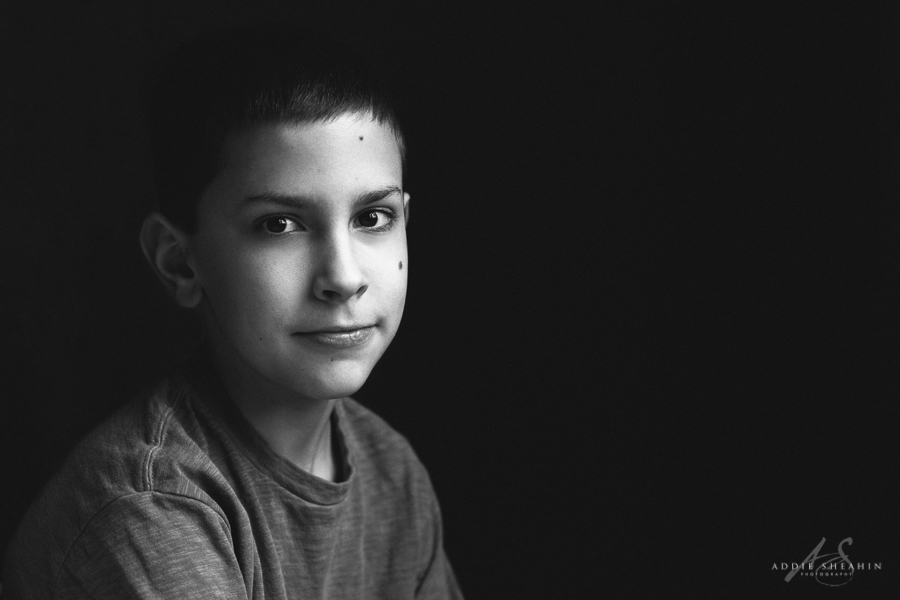
- Shoot in monochrome
Do you have trouble visualizing what an image will look like in black and white? You aren’t alone. It can definitely be hard to imagine a colorful scene without the color. Try setting your camera’s picture style to monochrome and shoot in live view to see the scene in black and white before you even press the shutter. If you don’t like shooting in live view, changing your picture style to monochrome will also allow you to preview your images in black and white on your camera’s LCD monitor. Challenge yourself to shoot in monochrome for a set period of time to train your eye and learn to see potential contrast.
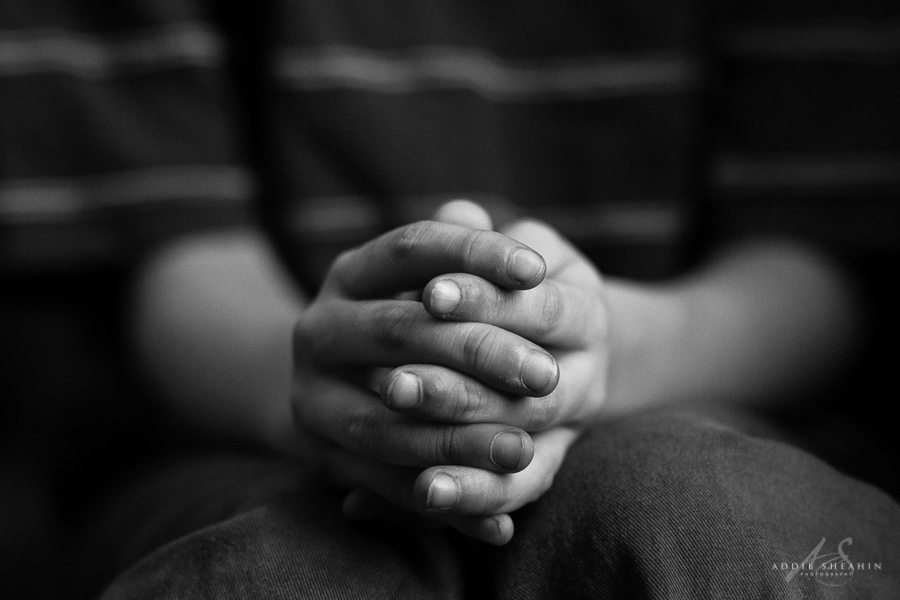
- Ensure the histogram spans from black to white
To avoid “flat” or “muddy” images, terms frequently used to describe an image made up of primarily middle gray, edit to establish both a white point and a black point. That might require pulling down blacks and shadows, increasing whites and highlights or playing with the tone curve. Be sure to watch the clipping and highlight warnings to ensure that you don’t go too far and lose important detail in the image.
- Use the Black and White Mix panel
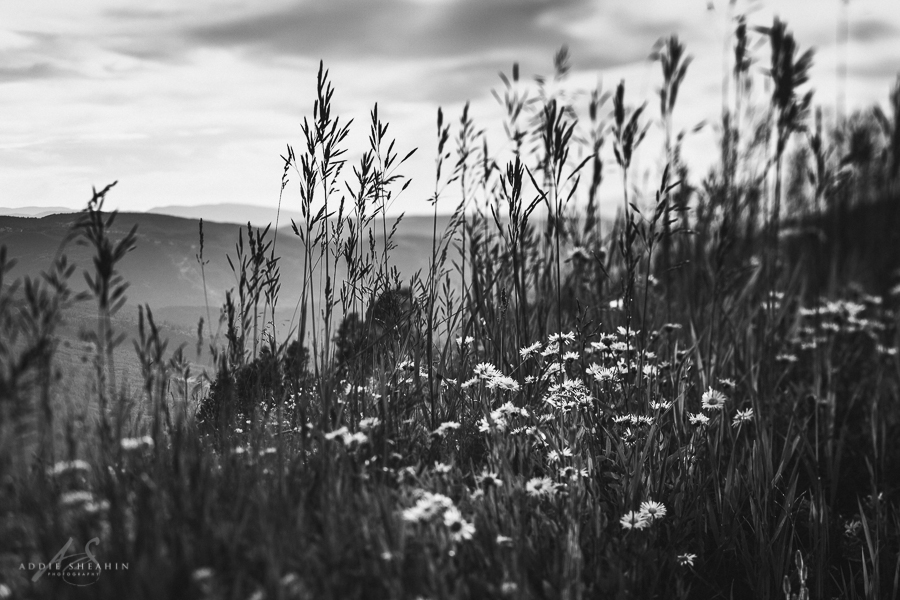
The Black and White Mix panel in Lightroom and the Grayscale Mix tab in ACR are wonderful tools to manipulate individual colors and create contrast. Play with the color sliders and watch what happens to the image or use the targeted adjustment tool to select the part of the image with the color range you want to adjust. You might select the sky, for instance, to darken the blue colors and create more contrast between a blue sky and white clouds. Be sure to watch the entire image when making color adjustments. Using this method to darken a sky will darken all the other blue tones in the image as well. Here I used the targeted adjustment tool on the grass to darken the greens and yellows and create more contrast between the grass and the flowers.
- Don’t forget to dodge and burn
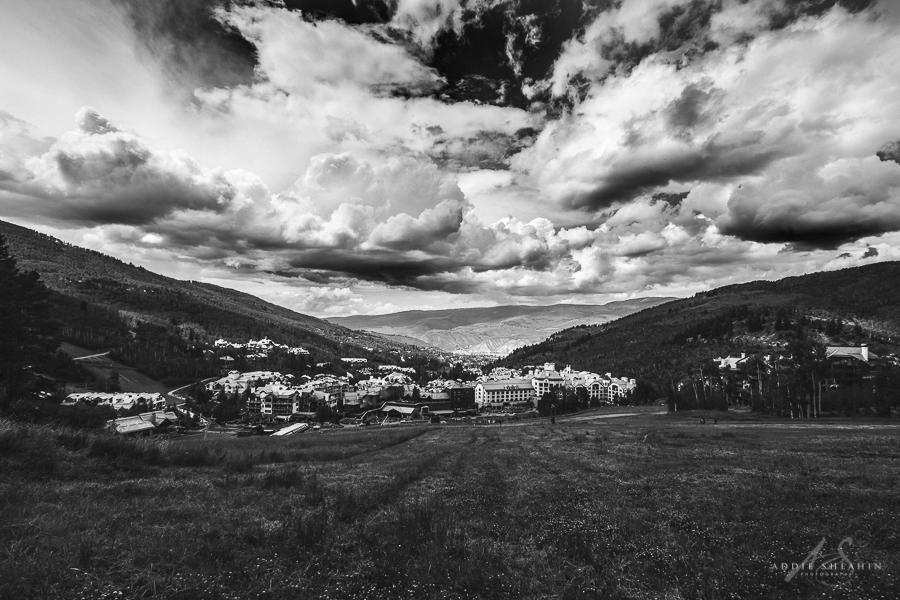
The dodge and burn tools are essential for making detailed local adjustments to your black and white images. Use an adjustment brush in Lightroom or a mask on a curves or levels layer in Photoshop to bring down or brighten highlights and darken or bring up shadows, as needed. Dodging and burning can be especially helpful to separate tones, adding depth, and enhance texture to a portion of the image without adjusting the global tonality. I frequently use dodge and burning techniques to intensify the drama in clouds.
- Embrace the grain
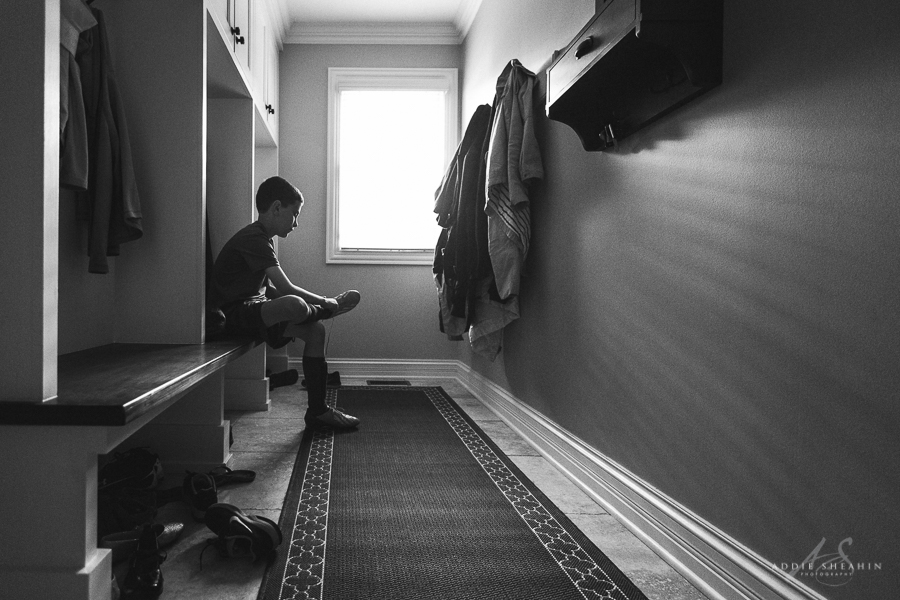
Many times we are encouraged to avoid digital noise and grain in our photography. But bumping your ISO and even adding grain in post processing can enhance the mood of a black and white image and result in a gorgeous photograph. Don’t be afraid to push your settings and experiment with shooting at high ISOs in your black and white work. The results just may surprise you.
Canon 5d mark iii, 16mm, f/2.8, 1/200, ISO8000
 Addie Sheahin is a natural light photographer with a love of landscapes and finding beauty in the everyday. She is inspired by the grandeur of the world around her and loves to travel and capture the magic of each new sunrise and sunset. She also passionately documents her days and the lives of her growing children, the big moments as well as the small everyday details. She lives in the western suburbs of Chicago with her husband of 15 years and their three children. When not behind the camera you might find her exercising, holed up with a good book or enjoying a glass of wine with friends.
Follow Addie on the web!
Website | Instagram | Facebook


