OMG! I am so pumped that my fellow Indy photog took some time out of her super busy schedule to share with us some tips on how to get AMAZING photos with sparklers. I’ve done this myself and let me tell you, it’s a lot of work! Get ready to find out how you can make this process a ton easier and have some pretty unique shots to give your clients! Thanks so much for sharing Erin!
Erin Hession | Indiana Photographer

Let’s Learn a little about Erin: I started my company in 1994 and we specialize in weddings. I would say that our style is a blend of fun candids, fashionable fine art & artistic photojournalism. We like to have fun with our couples and really capture the essence of their wedding day and who they are as a couple.
5 Tips on how to get great photos with sparklers:
1. Buy 3 minute sparklers/wind resistant lighter
2. Check sunset time
3. Use camera on tripod with wide angle lens
4. Settings: Low ISO, long shutter speed, white balance on shade
5. Practice with couple prior to shooting
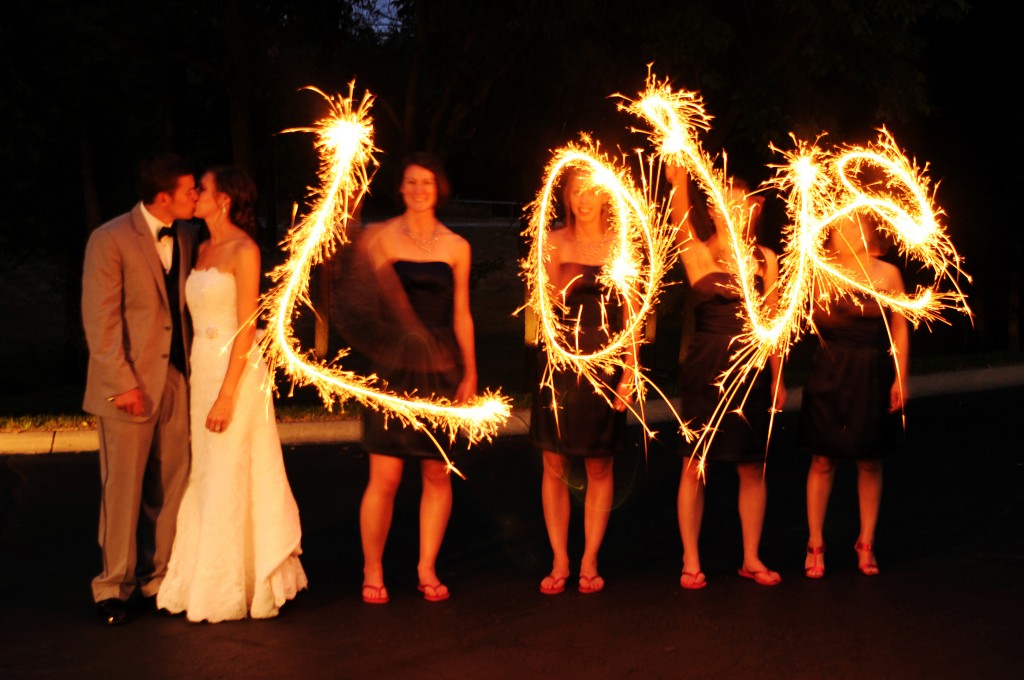
We purchase the 3 minute sparklers from Sparkle and then bring them with us to most events now.You’ll want to check the sunset time online beforehand and look for the “end civil twilight” time which tells you at what point it’ll be totally dark outside and then plan to do them at that time or even later depending on the weather. Once it’s dark outside, we take our bride & groom out to the venue’s parking lot or open area (away from grass or anything that can catch on fire) and we teach them how to get the best sparkler photos before we actually light them. We always make sure that one of us has a bottle of water handy in case anything goes wrong and we always choose the darkest spot available in the nearby area to avoid ambient light showing up in the photos.
To get the best shots, tell your clients that they have to stand as still as possible and remember to smile while doing their sparkler action in 1 second or less. It’s much harder than it looks! For example, if you are asking them to make a heart, have them practice making half of the heart by starting at the top and curving around to the bottom, you’ll want them to start at the top together and end at the bottom together so they usually need a little bit of practice before you actually hand them a lit sparkler.
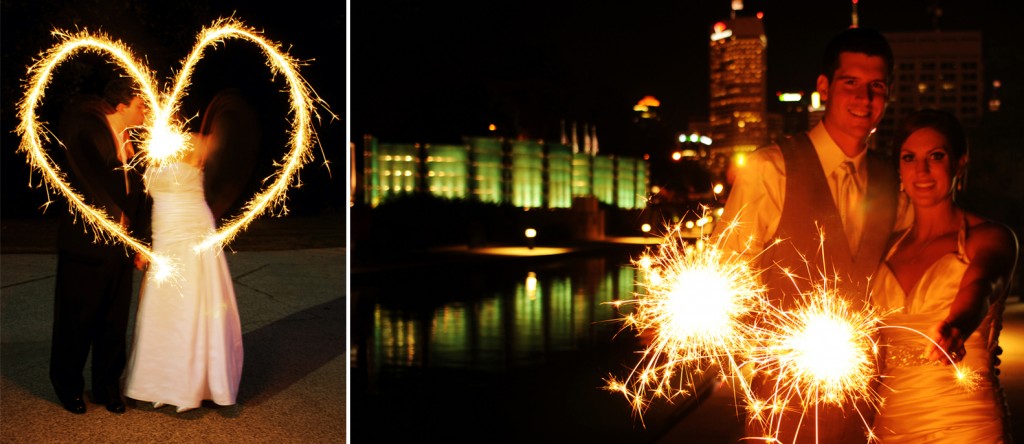
Before going outside, we put a wide angle lens on our camera (usually the 24mm) and then we put our camera on a tripod, ISO 200, f/2.8 at 1.3 seconds seems to work the best for us, it just depends on the look you’re going for. It’s much easier to do all of this preparation work while you’re still inside the venue than it is when you’re outside in the dark.
The settings are a little bit of trial and error depending on the amount of side light or back light you may be working with in the evening but those settings are generally a good starting point. We also tend to switch the white balance to “shade” since that adds more orange and warmth to the photos. We purchased a special wind resistant lighter from Bed, Bath & Beyond and that has helped us on numerous windy nights.
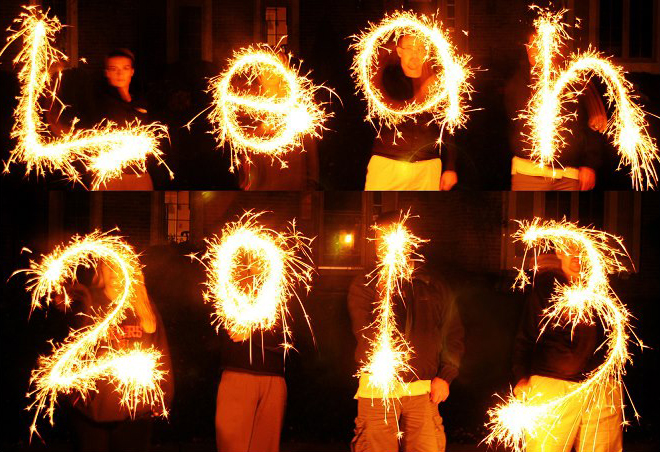
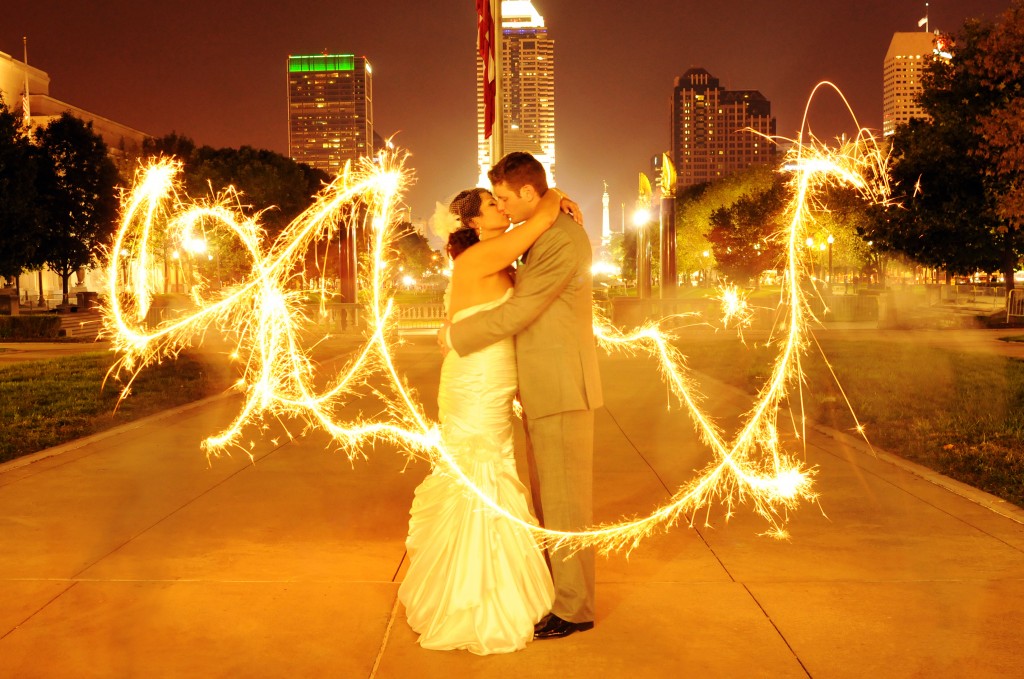
My husband lights the sparklers, hands them to the clients and we count “1-2-3-go!” and just as we say 3, I focus and shoot. I usually have to give them more direction as I see how the images are looking on the back of the camera and sometimes it takes two rounds of sparklers to have them nail the shots we need, so bring a box of 4 sparklers with you! If they are moving the sparklers too slowly, I’ll slow my shutter down even more. There’s all kinds of fun things you can do with sparklers though, there’s a shot going around on Pinterest now where the couple is surrounded by sparklers and that’s become a very popular request lately.
When we have a client who requests that shot, we usually take 2 groomsmen outside with us and have them run around the couple while the sparklers are lit, we advise them to go up and down with the sparklers while running but we ask that they try to avoid the sparklers being in front of the couple’s faces while they’re doing it. The shot below turned out to be one of my favorites, there was a lot of back light with the skyline in the background that night but I loved it! The settings are much different for this particular shot though, I shot it at ISO 800, f/6.3 at 2.5 seconds, no flash on the shade white balance setting. I think sparklers make really neat end of night shots for our client’s albums and everyone loves the outcome of the photos!
Erin Hession-Wooton Blog| Website | Facebook
Have questions for Erin? Post them below!
If you have any sparkler photos of your own you can post them on our facebook wall for others to see. 🙂

